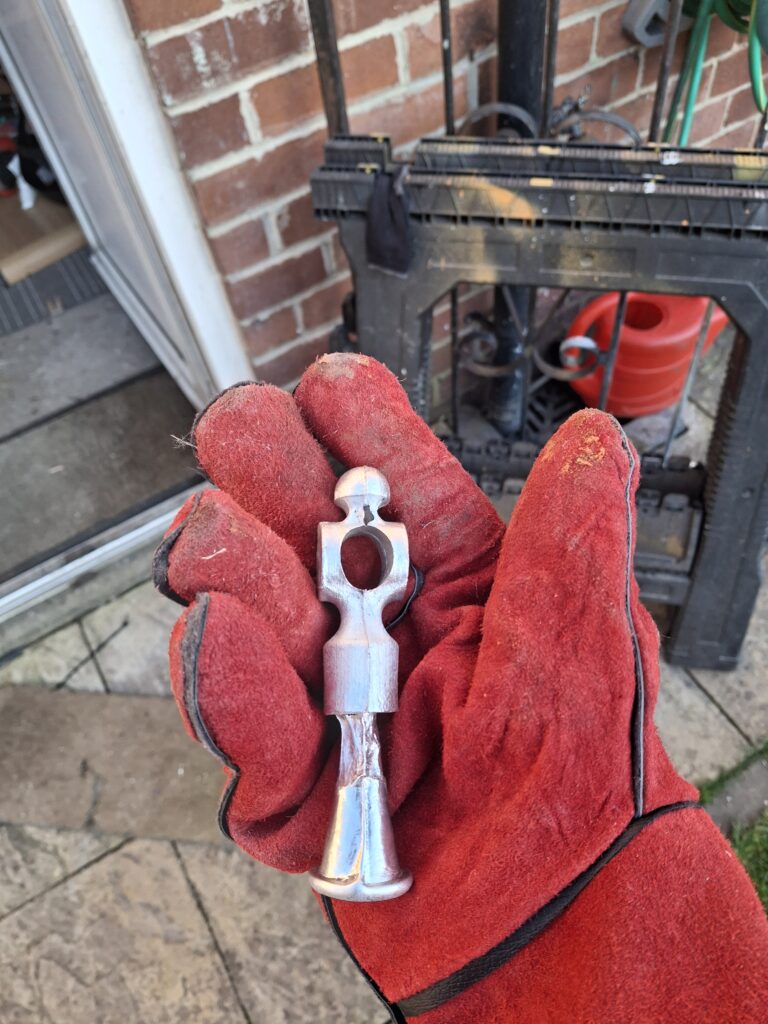
Ive been meaning to make some small machinsiest hammers for a while and never got around to it. The obbessions with casting smaller and smaller coins in copper based alloys is just too appealing. So finally, with the weather improving, i decided to get my melt on and try.
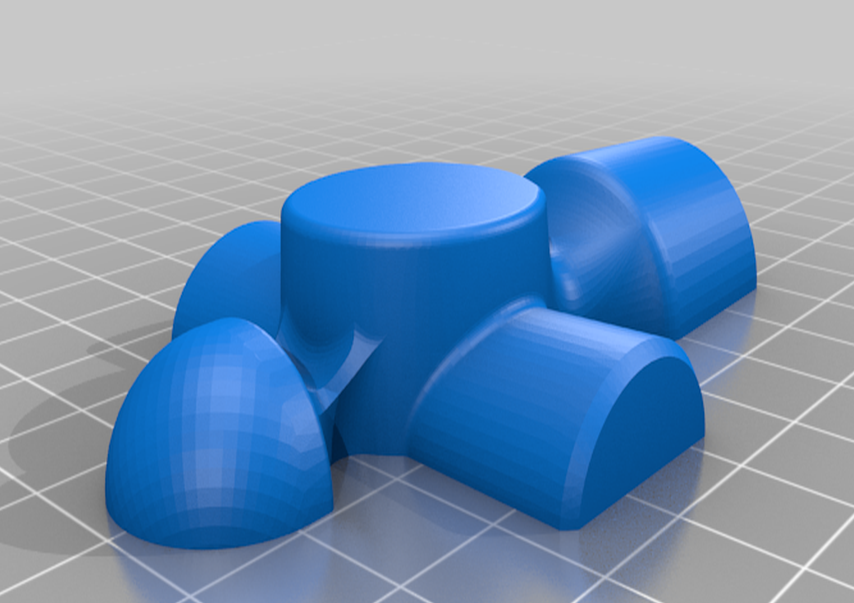
For this i made use of an existing hammer 3d print by Preso
This was cast in the ZL12 alloy that i get from the Artisan Foundry. While its not really my favourite to work with in my garage due to the Zinc, its not actually as bad as brass (still fully PPE’d up). I cast this in an oil sand, my tub is a bit mixed now, but its mostly a sand the Artisan Foundry supplied when out of Bentomix
The Pattern
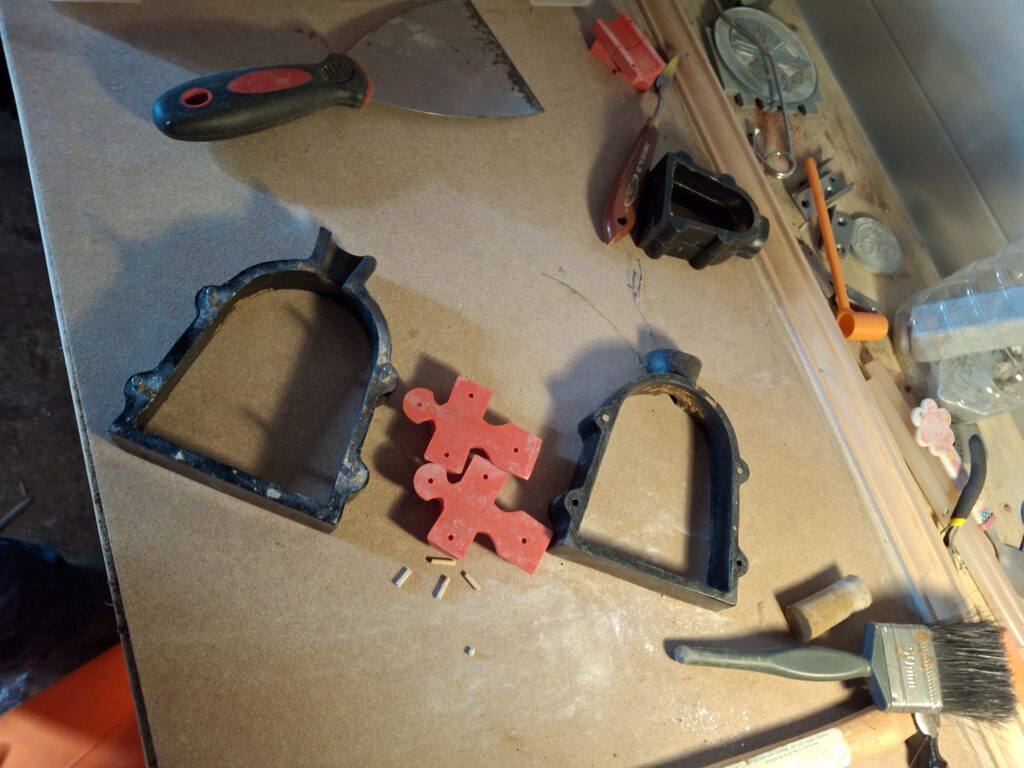
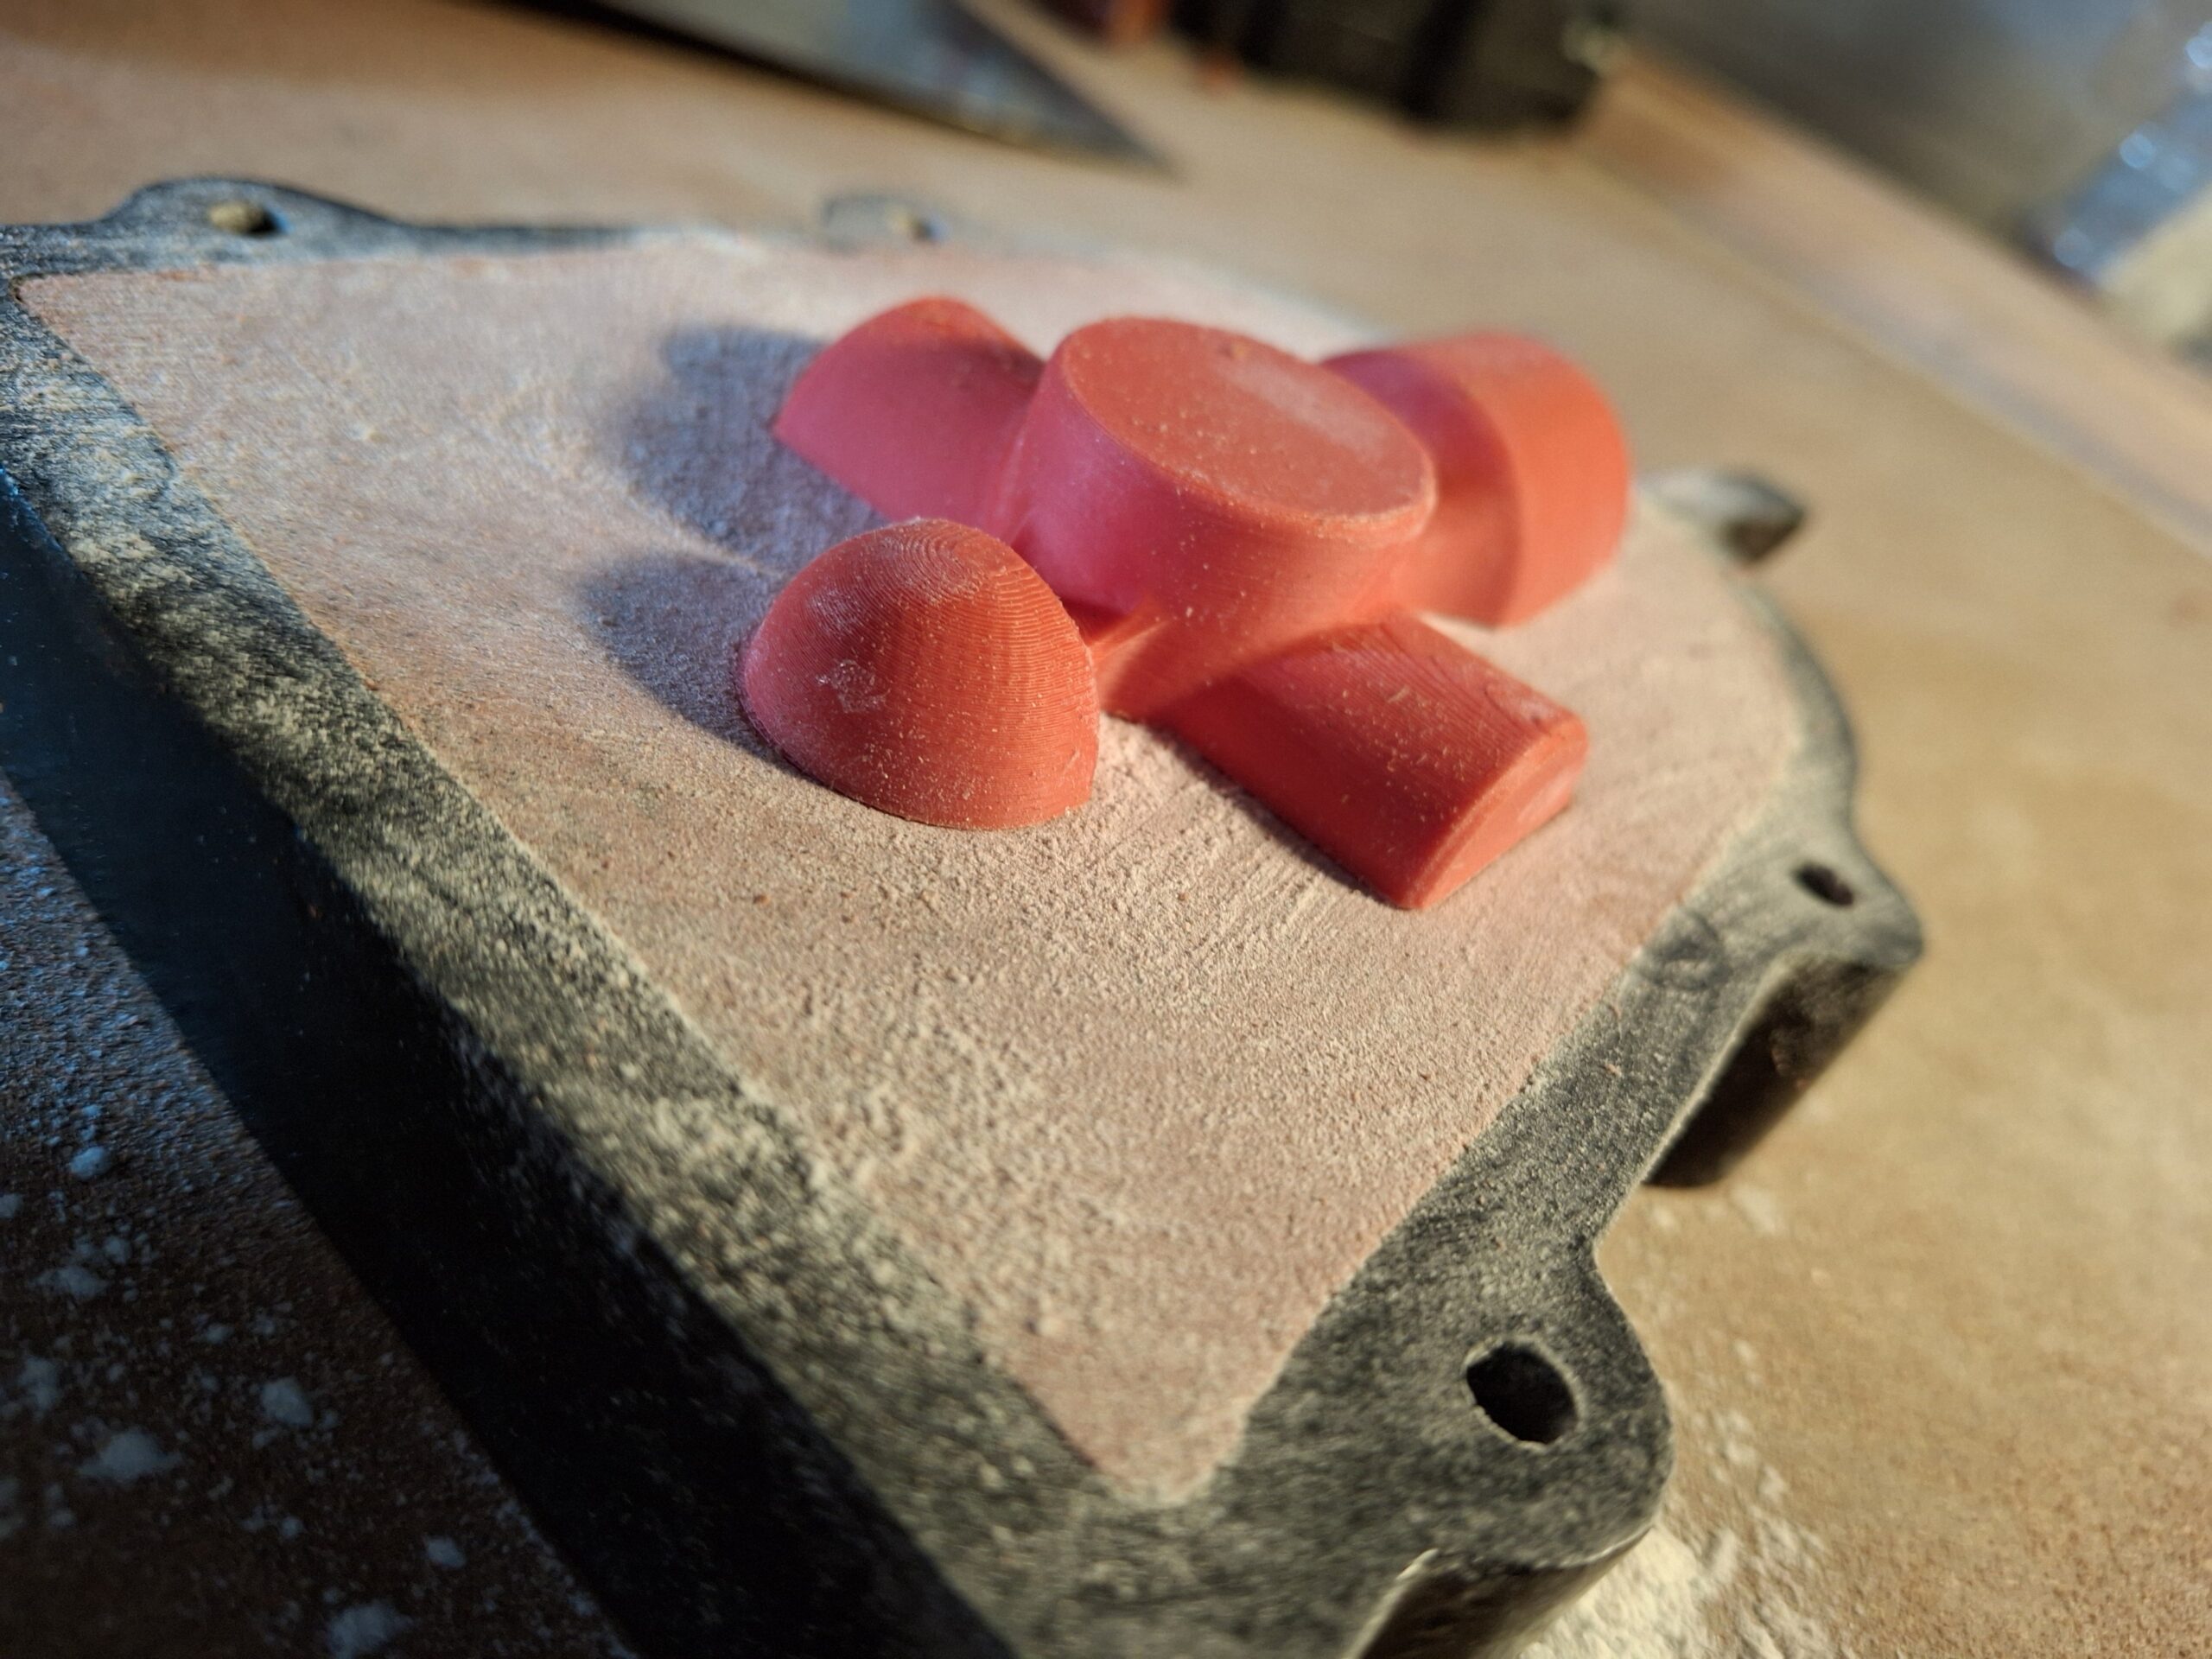
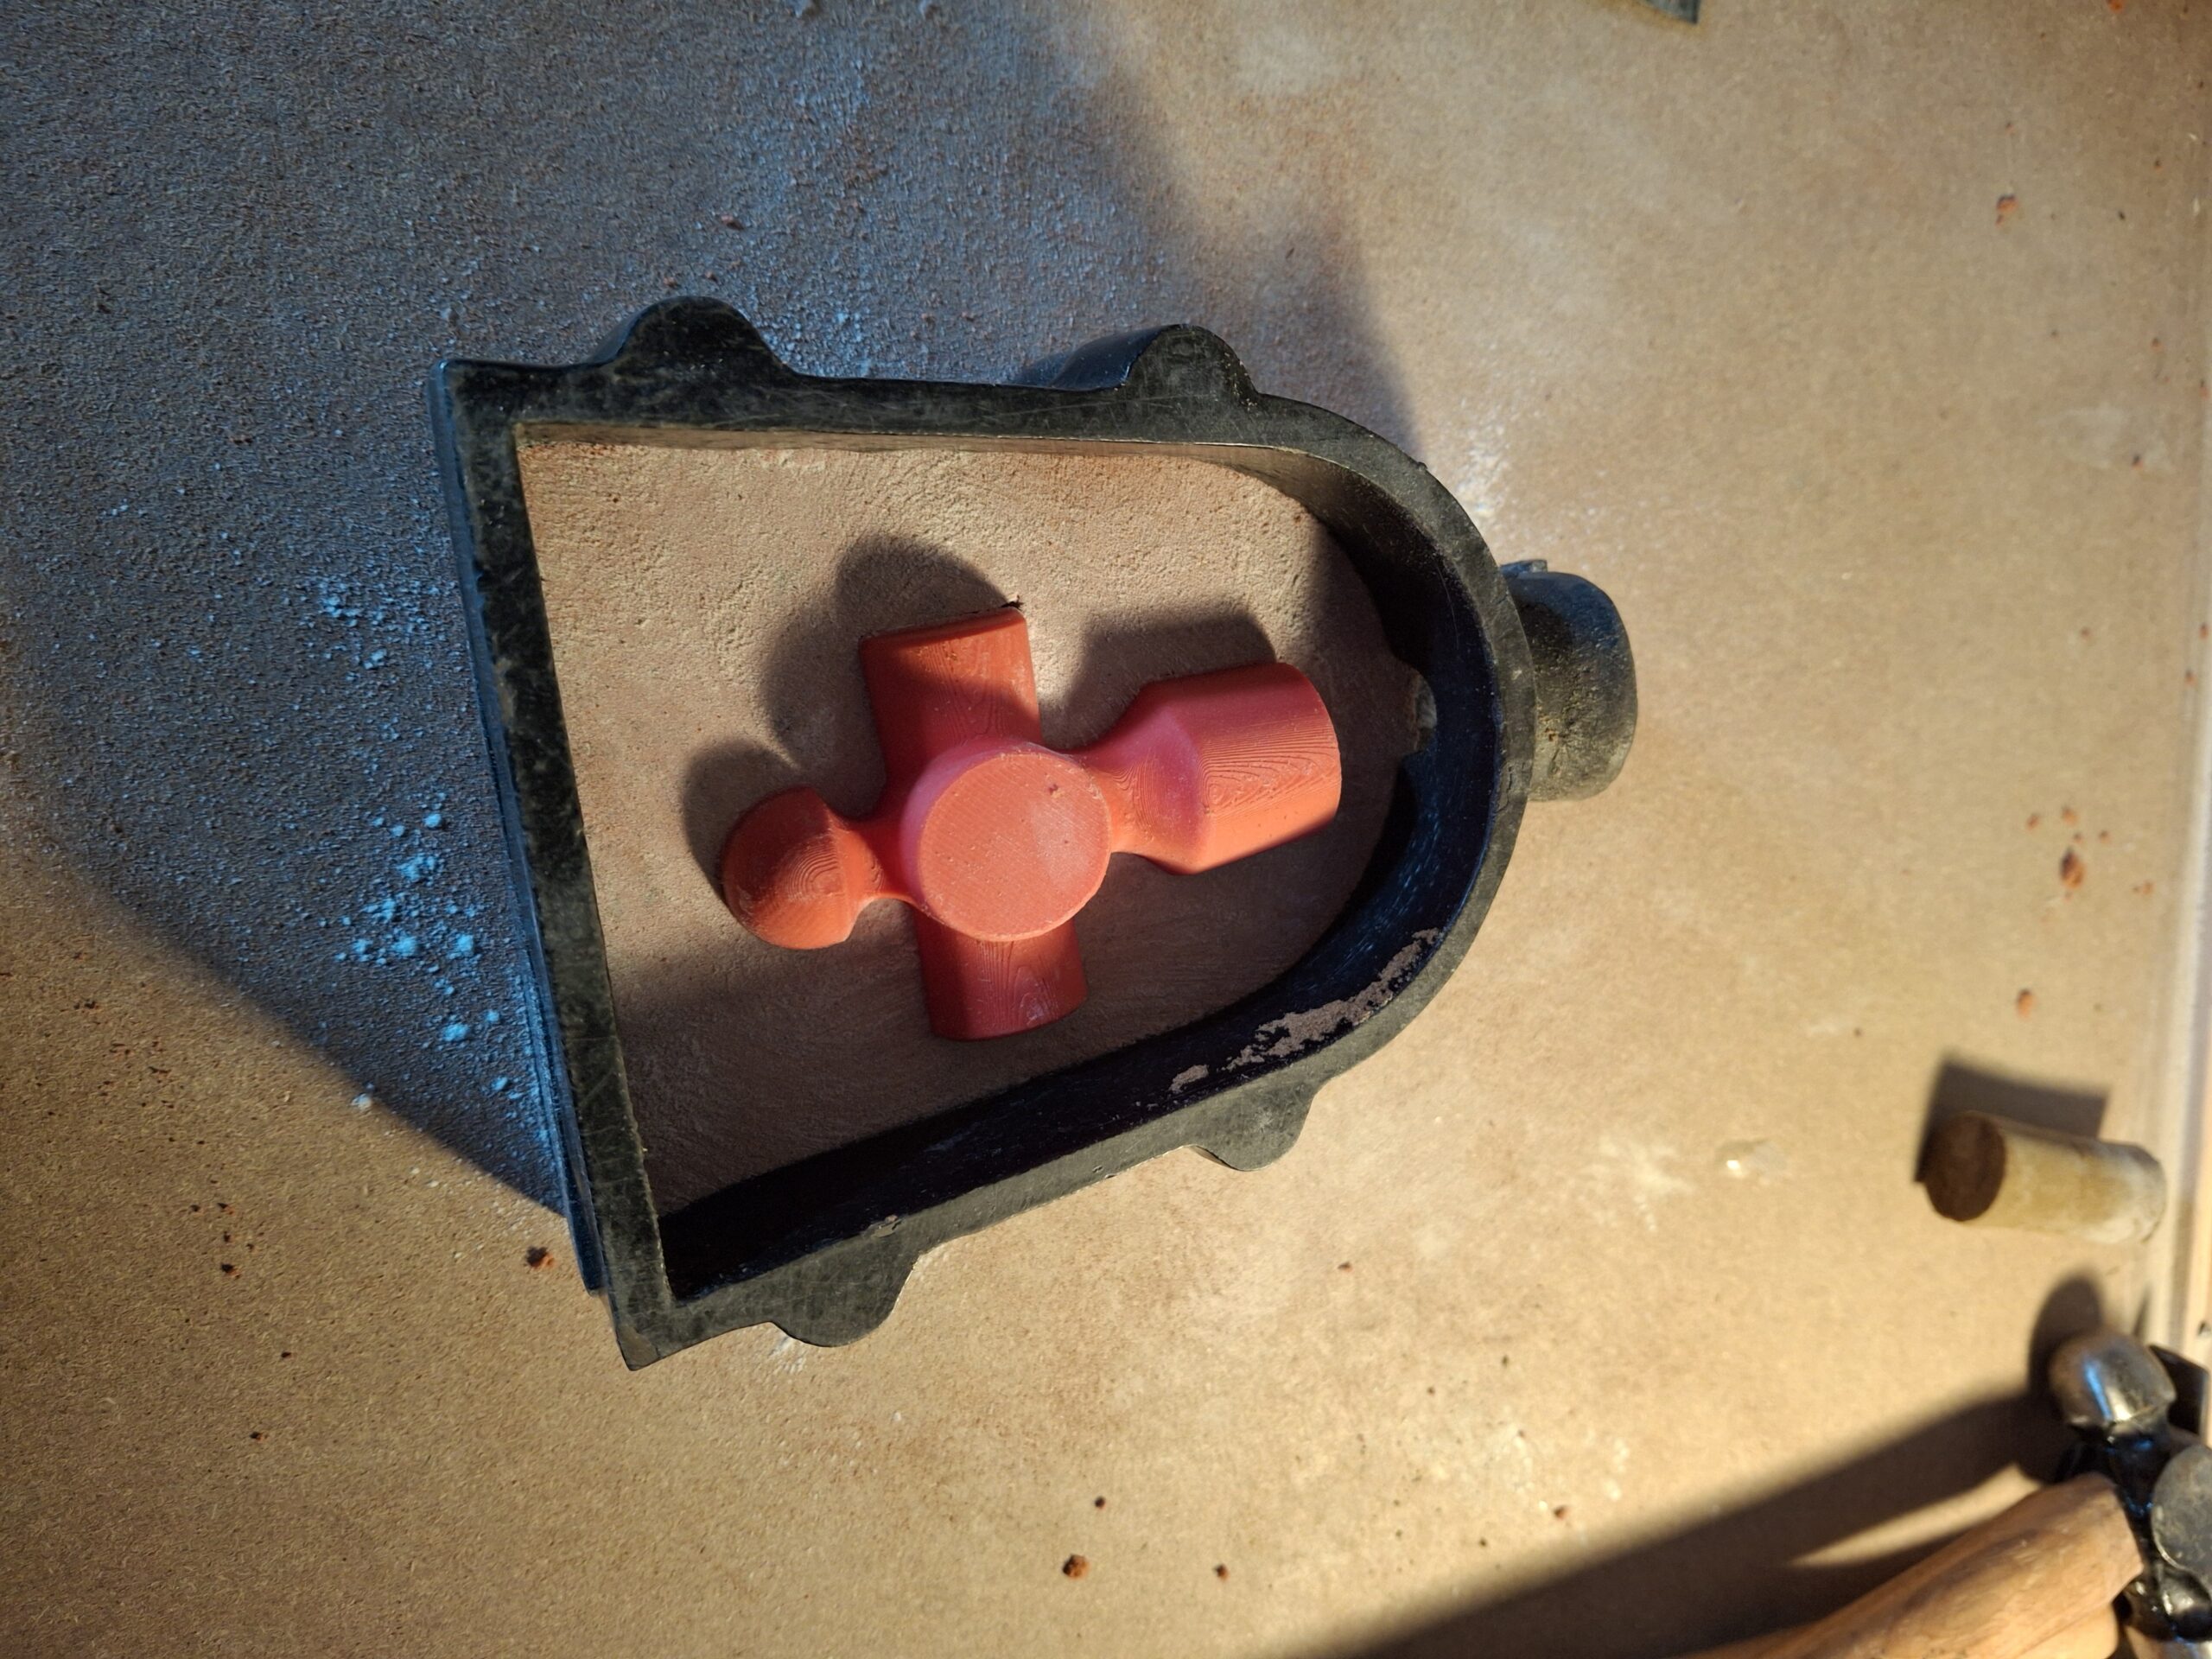
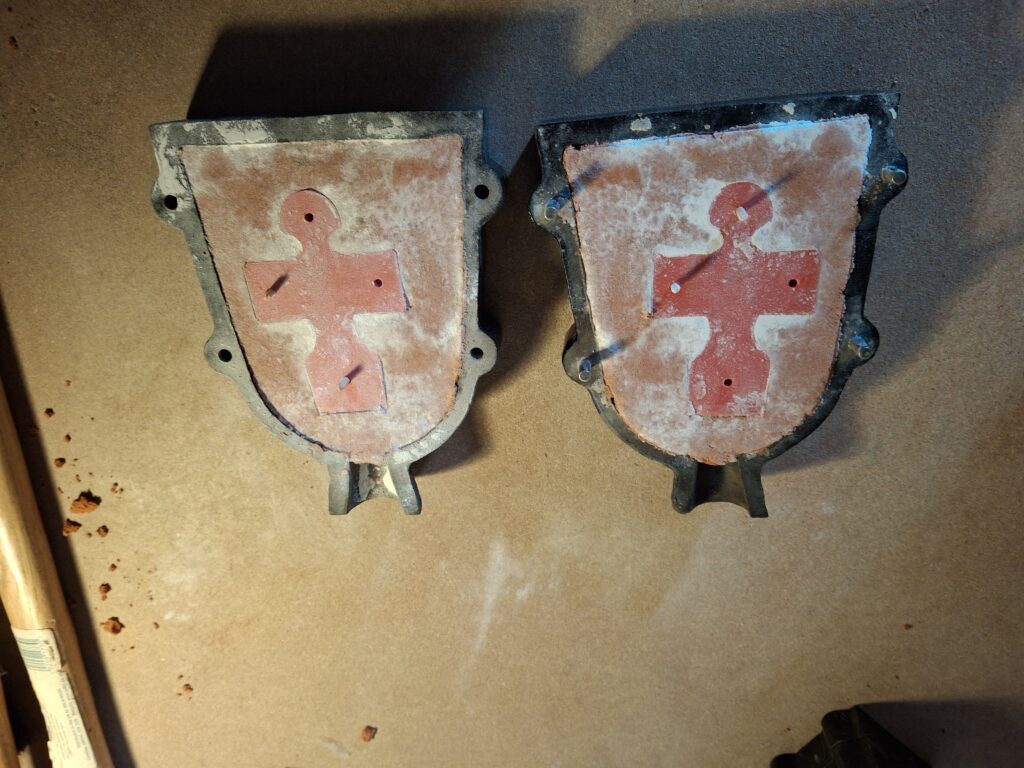
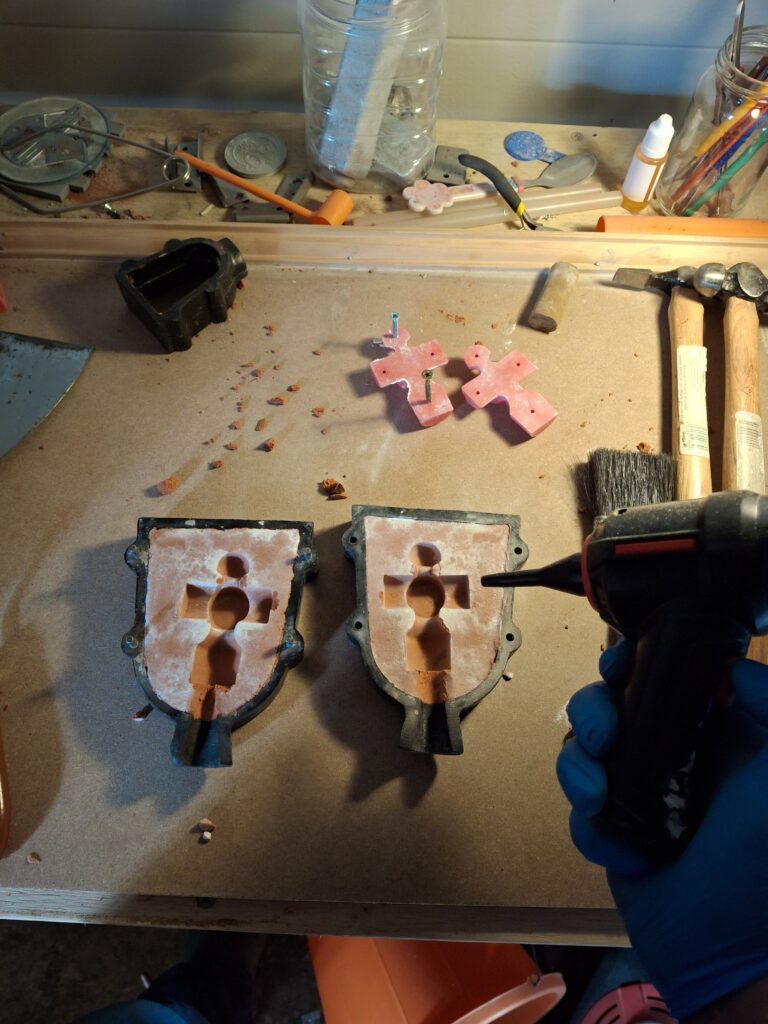
As this is going to be cast in, we need a split pattern. As the hammer is mirrored i was able to print the hammer head twice and make use of the locator pins to join when making the mold (hint for later, it fails). Not only do we have the dual parts for the hammer head, we also have the 2 parts of the form used to make the core. The core will make more sense in later images.
Ramming Up
When it comes to making the mold, we start with one side of the flask first. The process is fairly simple, but took some practice over previous attempts to get it right.
- Place the first half of the flask down (without locator pins), so the holes where the locator pins will go are face down
- Place the first half of your pattern in, also flat side down and get into position (this differs based on flask and whats being cast)
- Apply a thin layer of talc over the top of your form, the base and around the flask. This will stop the sand sticking and allow us to remove the patterns later.
- Start by covering the pattern in your sand, im not overly fussed about detail here, so im not ensuring my first layers are fine.
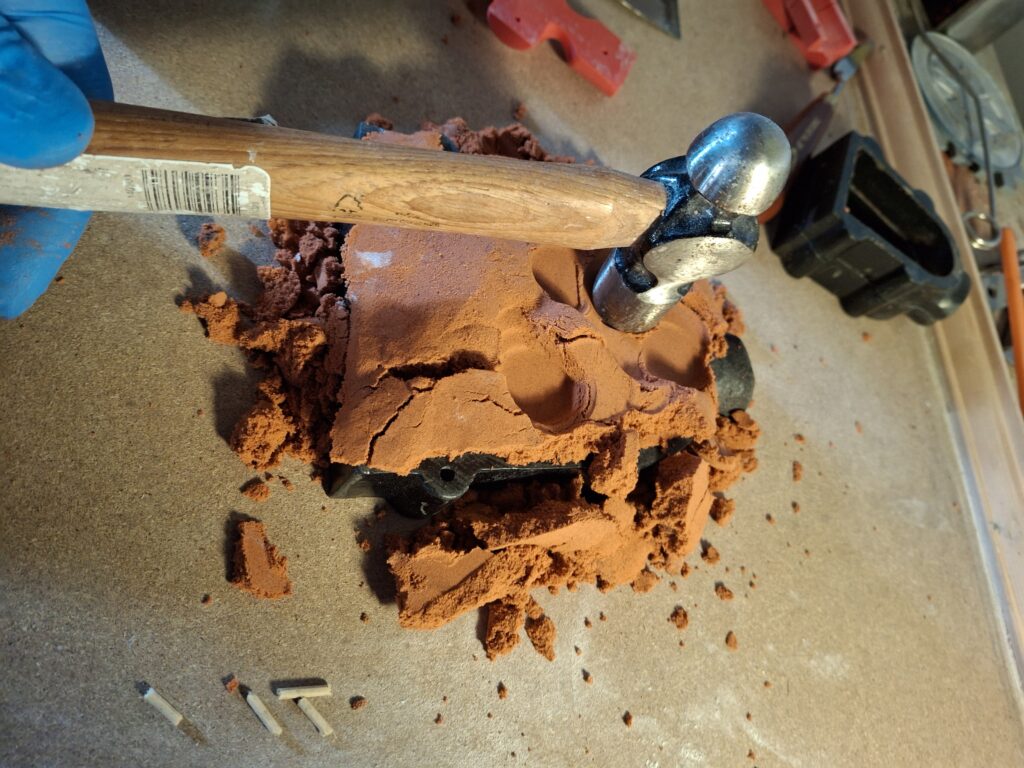
- Ram the sand down to ensure its evenly and firmly covering the pattern. I use a mix of hammers and blocks of wood, to try and ensure its tightly packed
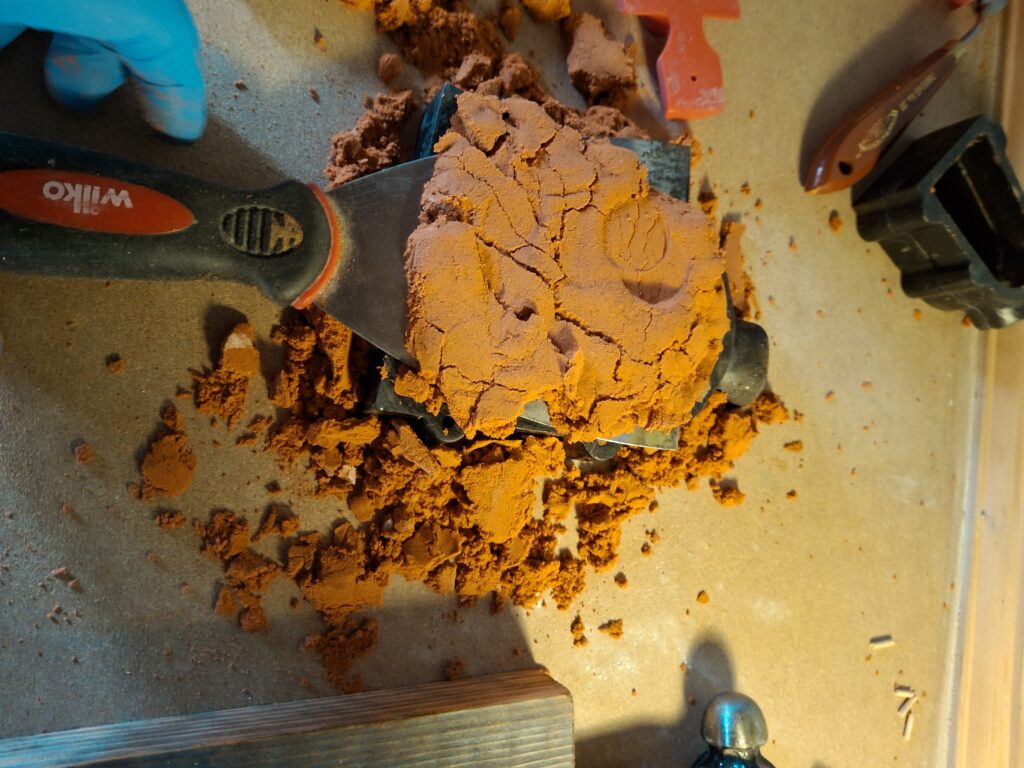
- Once its full, you will need to slice the sand off the top, so its a nice and flat.
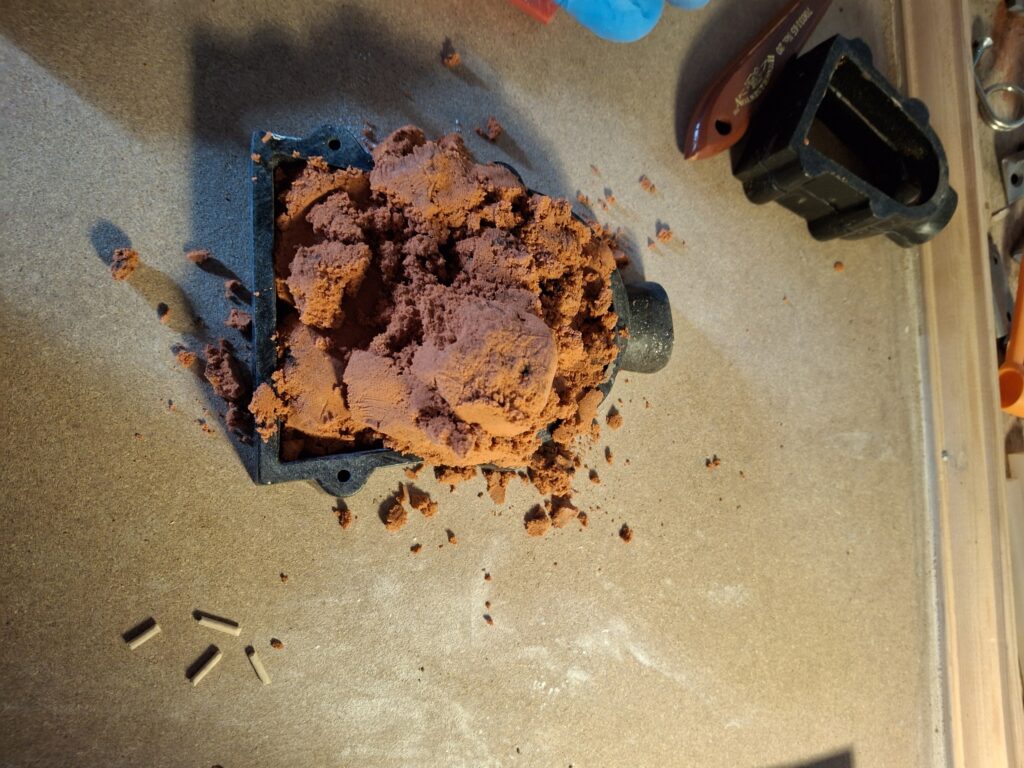

Ramming The Reverse
Once the first side is rammed up, its a case of spinning it over and doing the other side. The flask i am using here comes with 4 pins, that ensure the two sides line up perfectly and do not move. This is why we do the side without pins first, so its all flat. The process is pretty much the same as before, except we now add the other side of the form and use pins in the supplied holes to keep them in line. Sadly this is where i messed up, my pins were a little too thin, so we had a little movement.
We again use a lot of talc here, not only to ensure that the pattern will not stick to the sand, but also to prevent the same from sticking together.


Much like before, we add the sand, ram it home and then scrape off the excess.

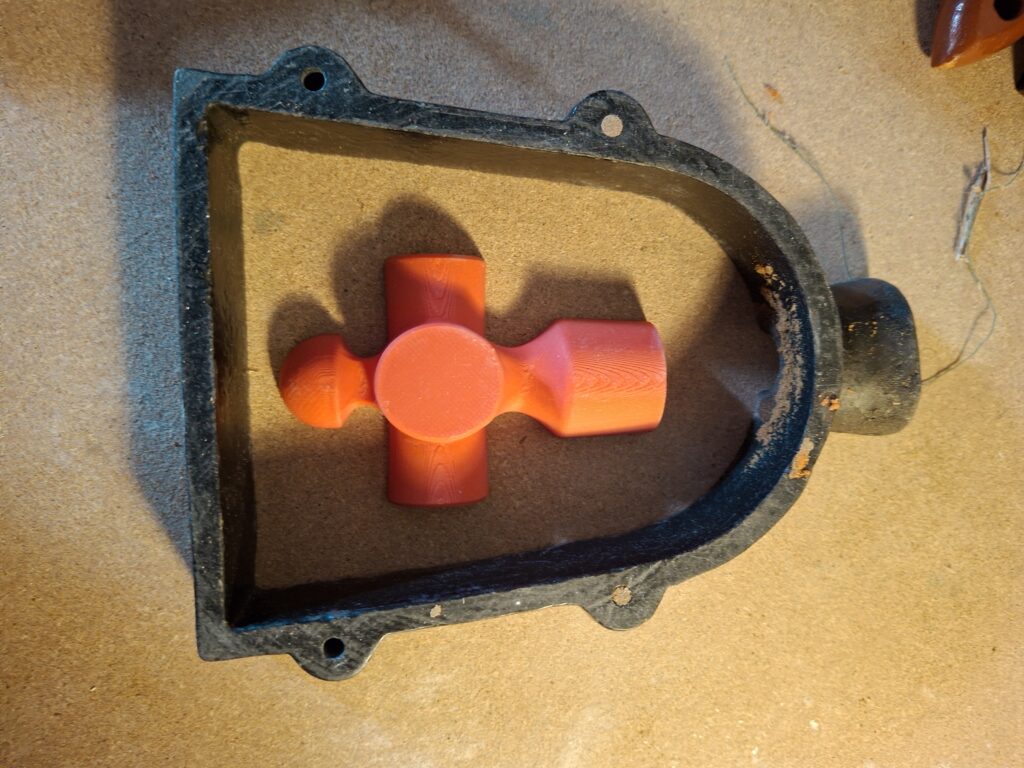
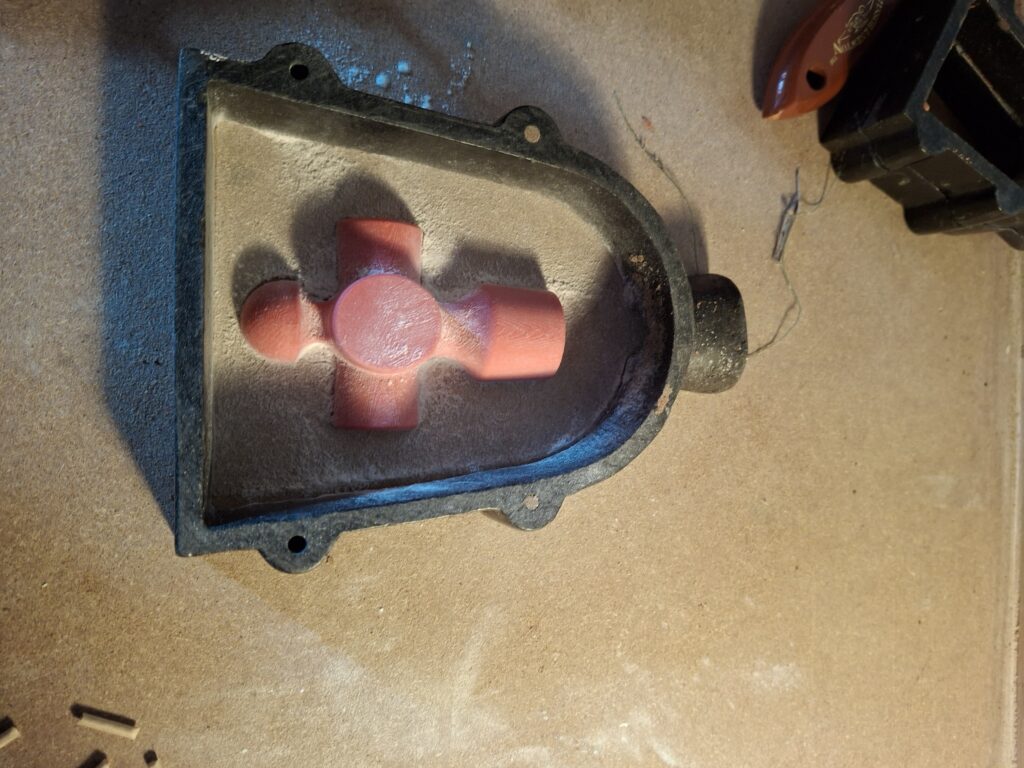
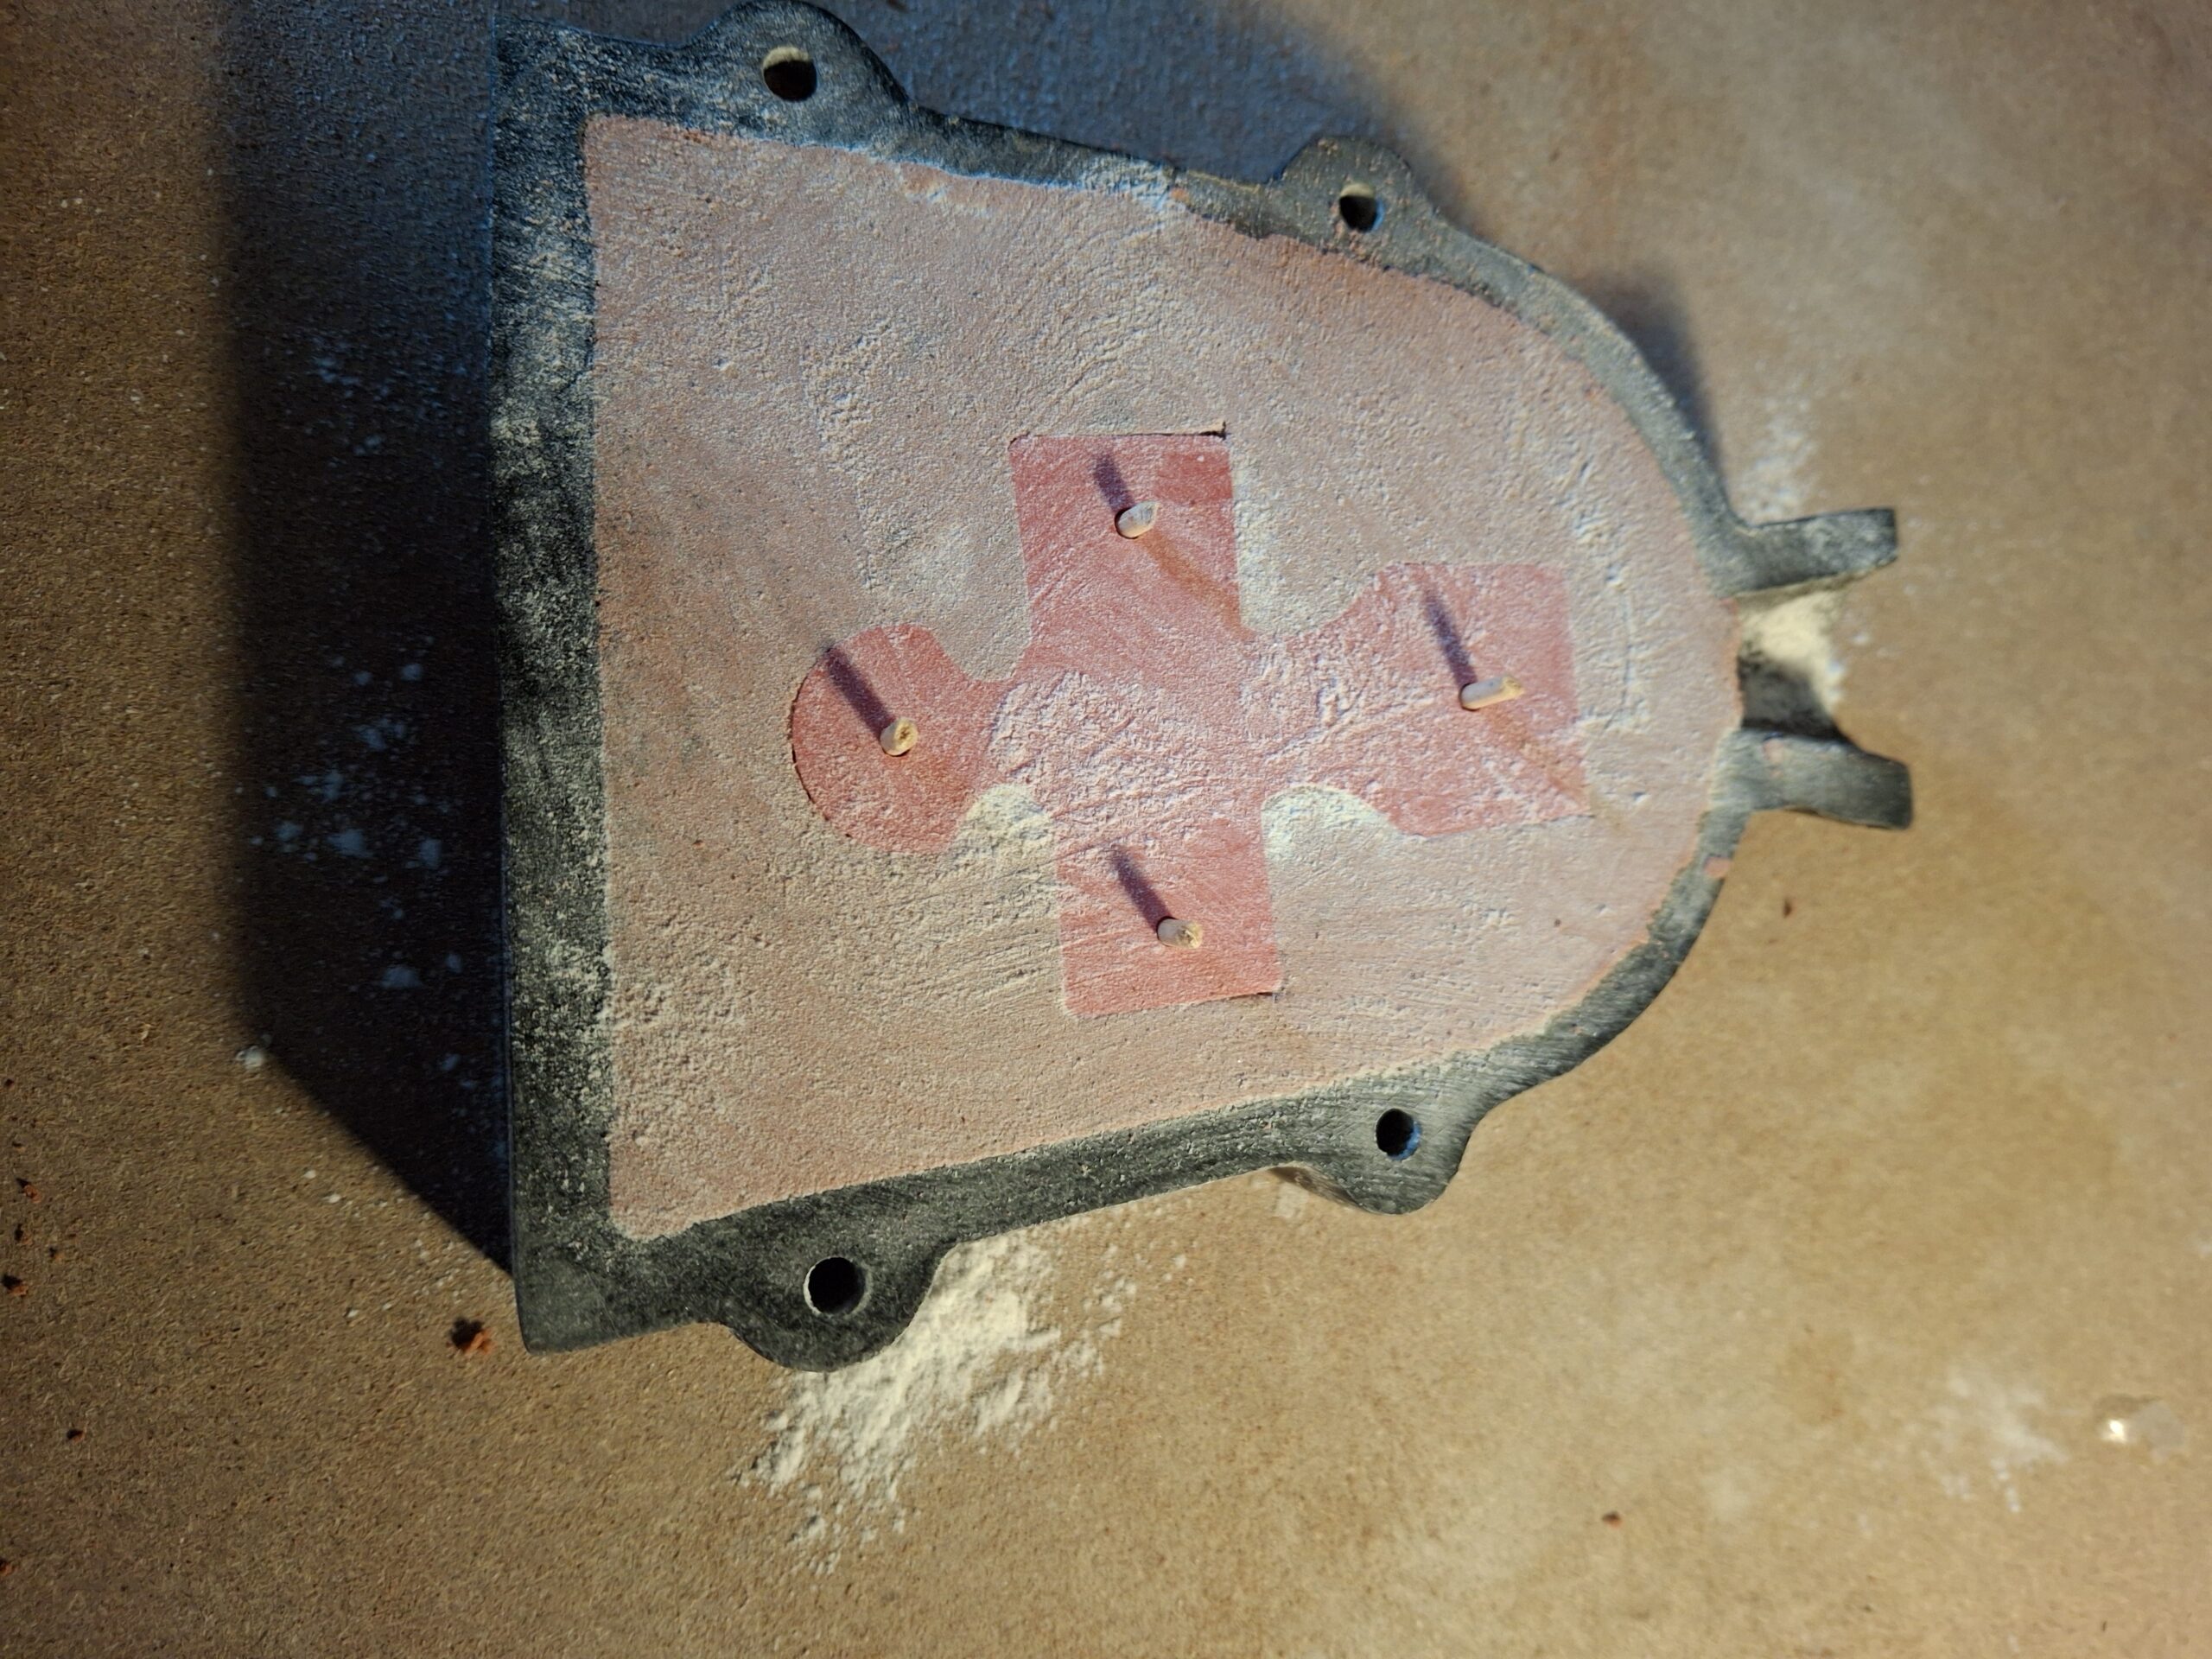
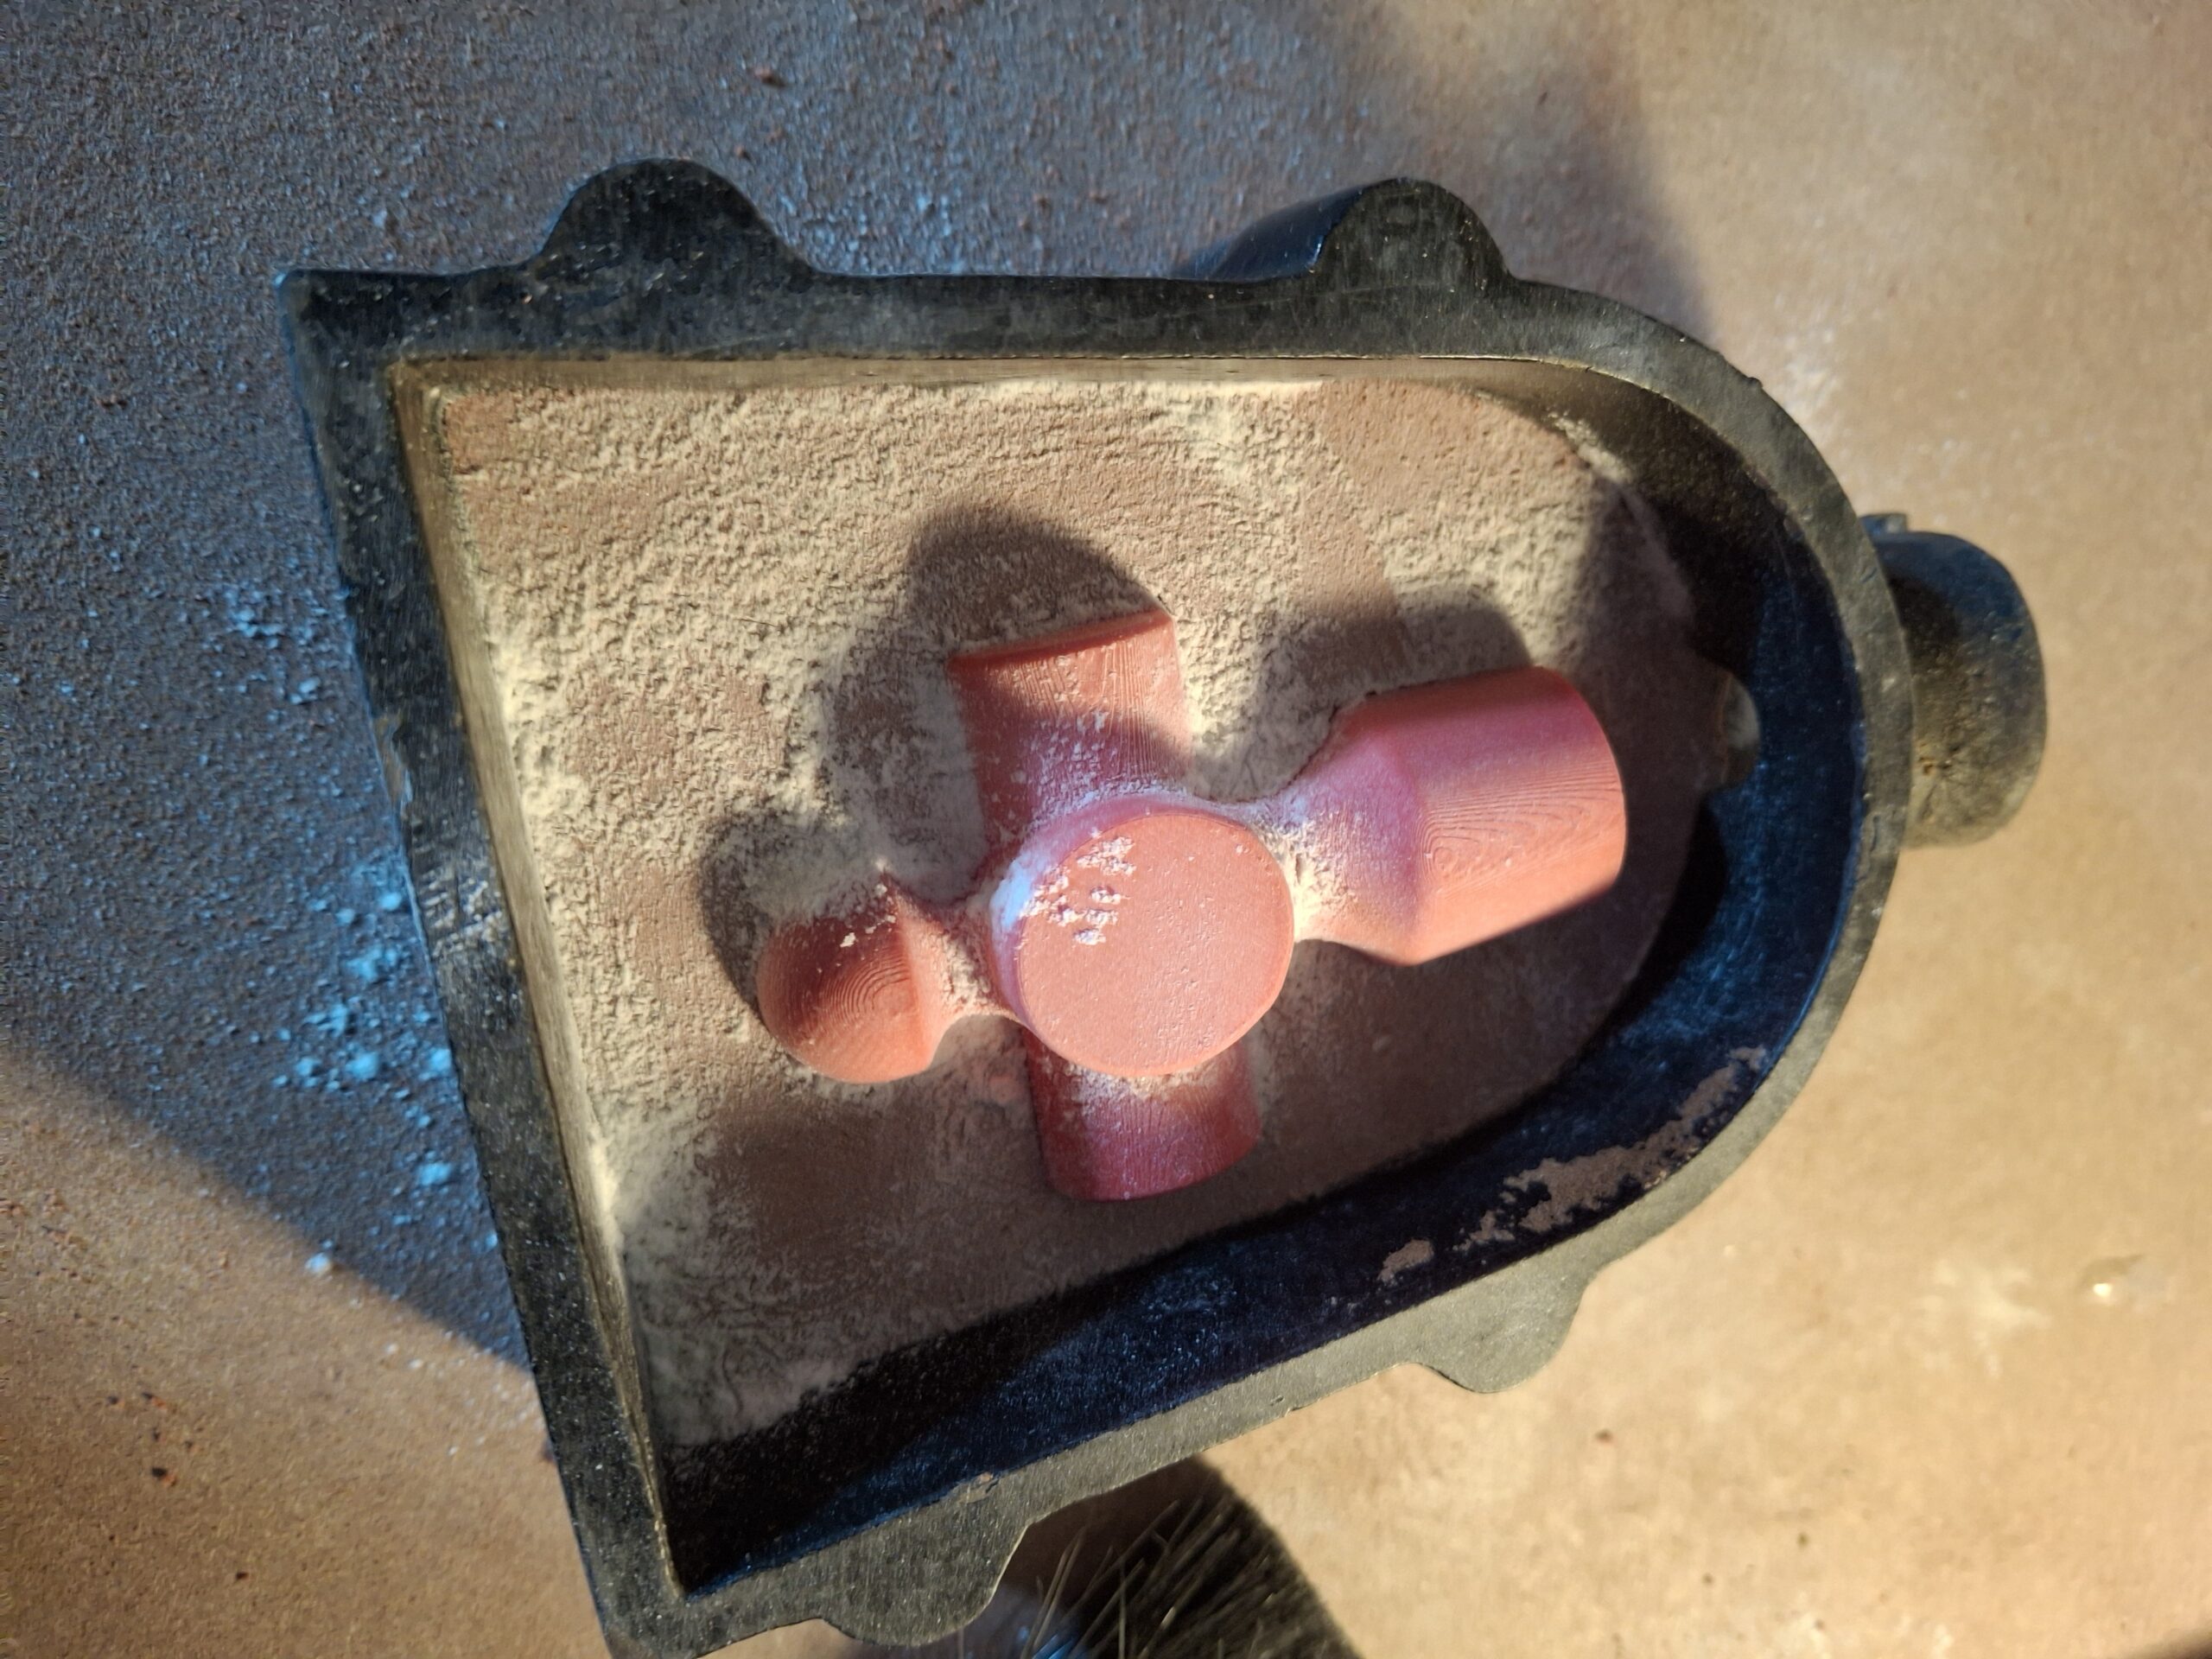
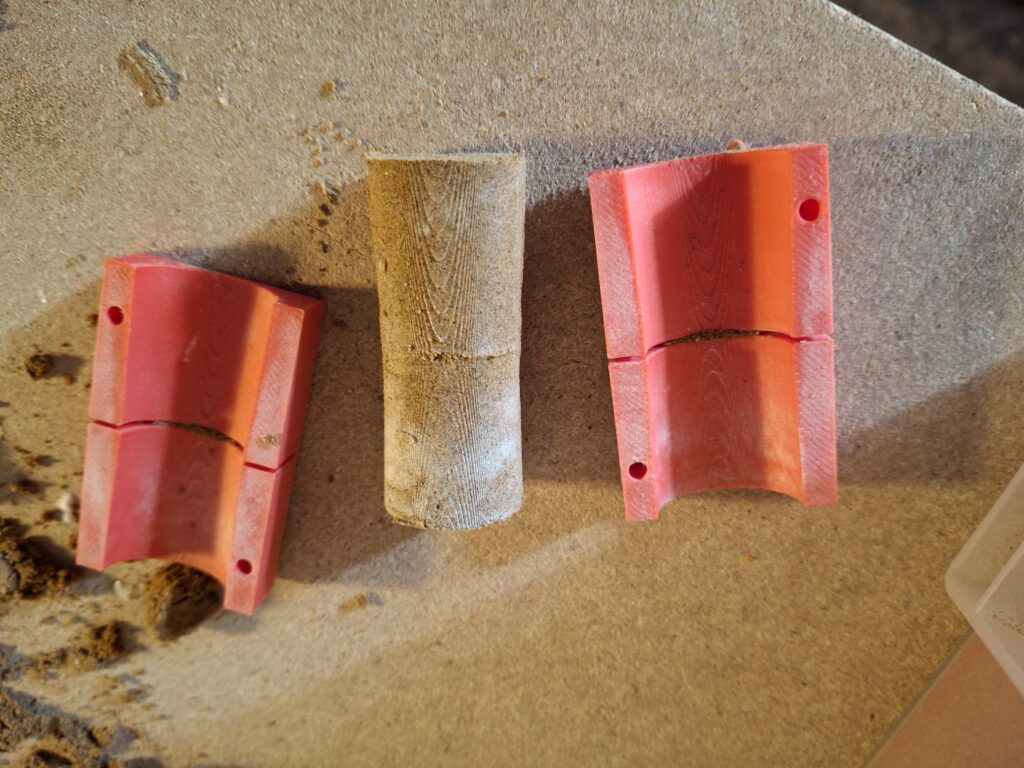
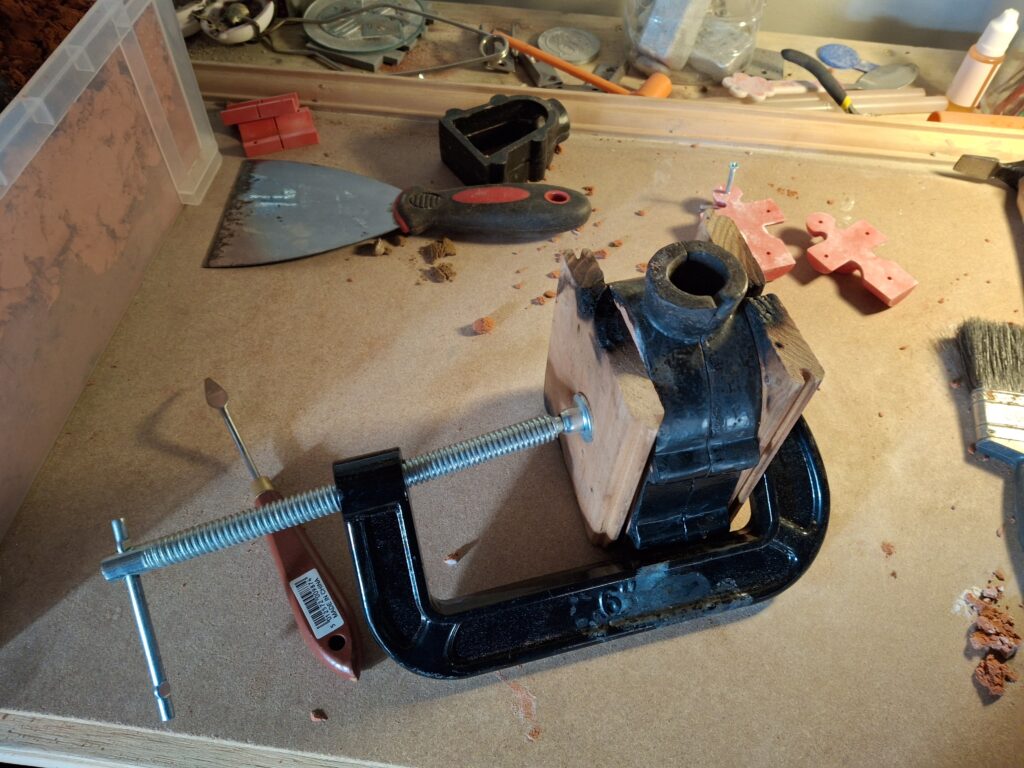
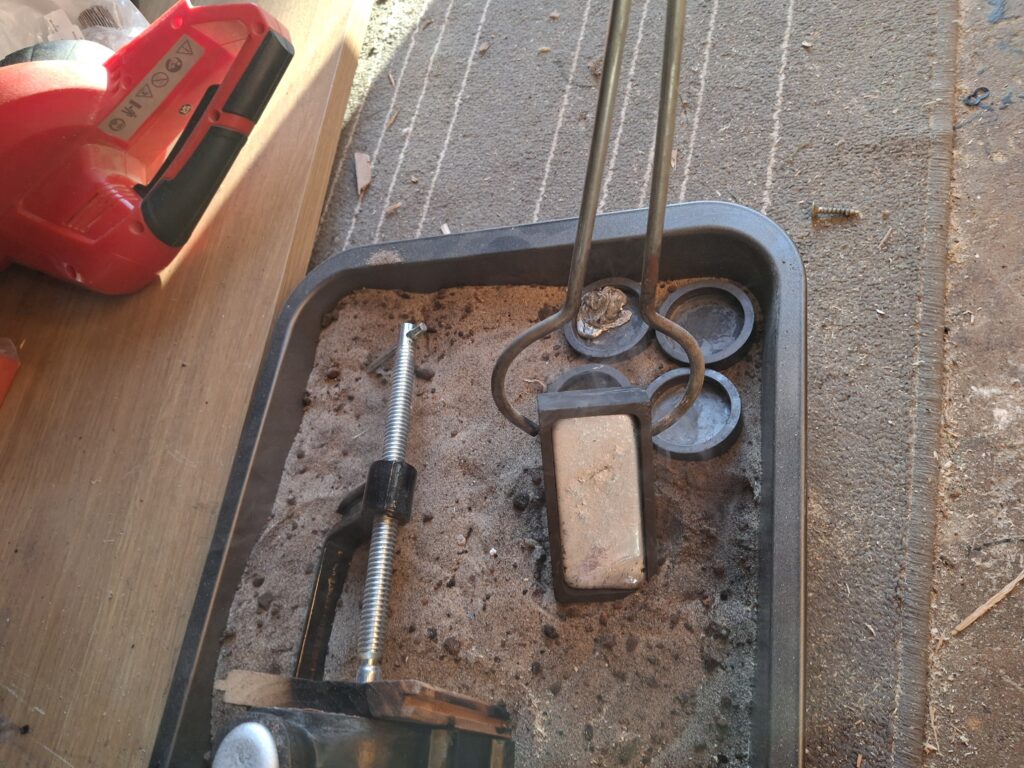
The Core
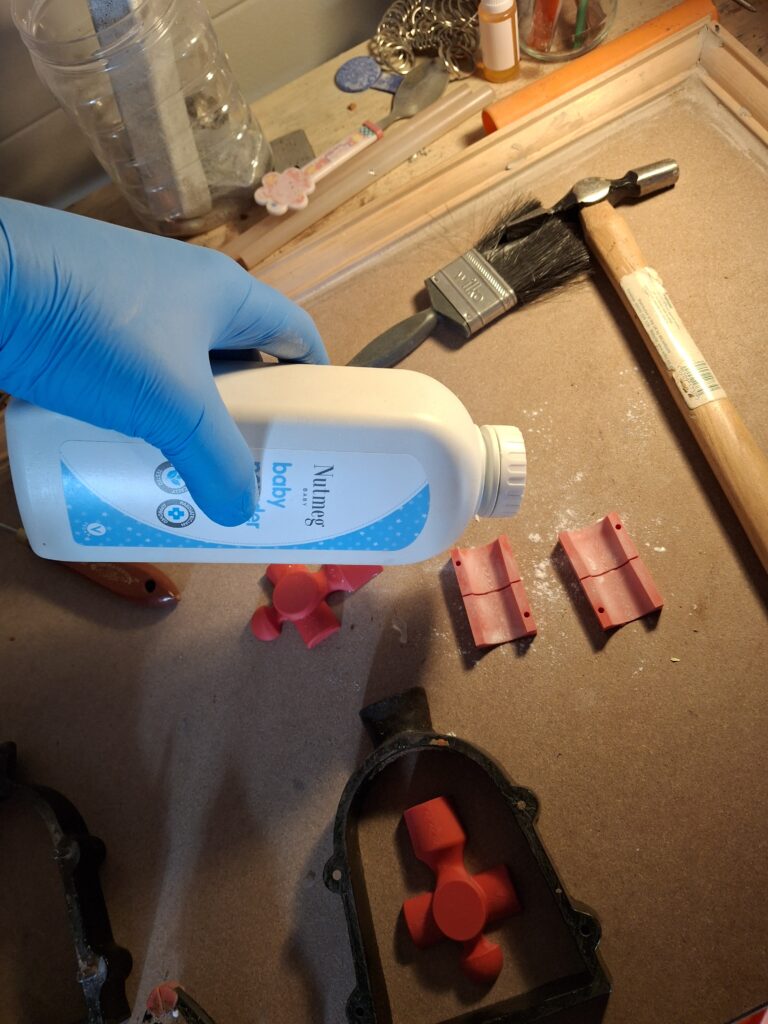
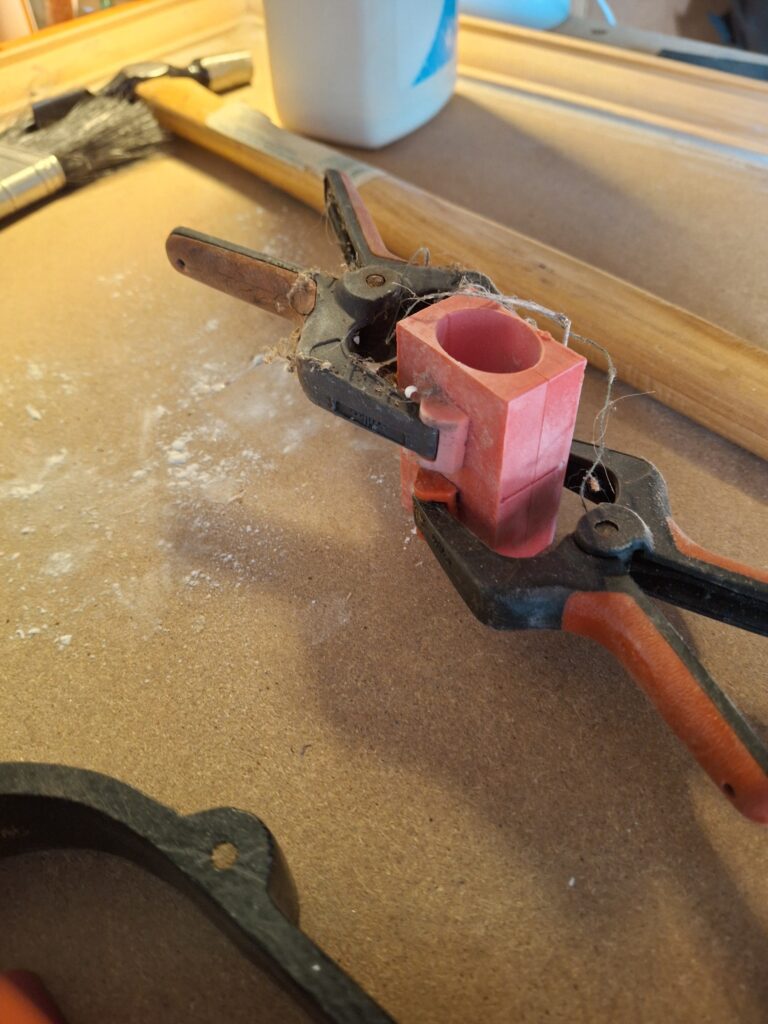
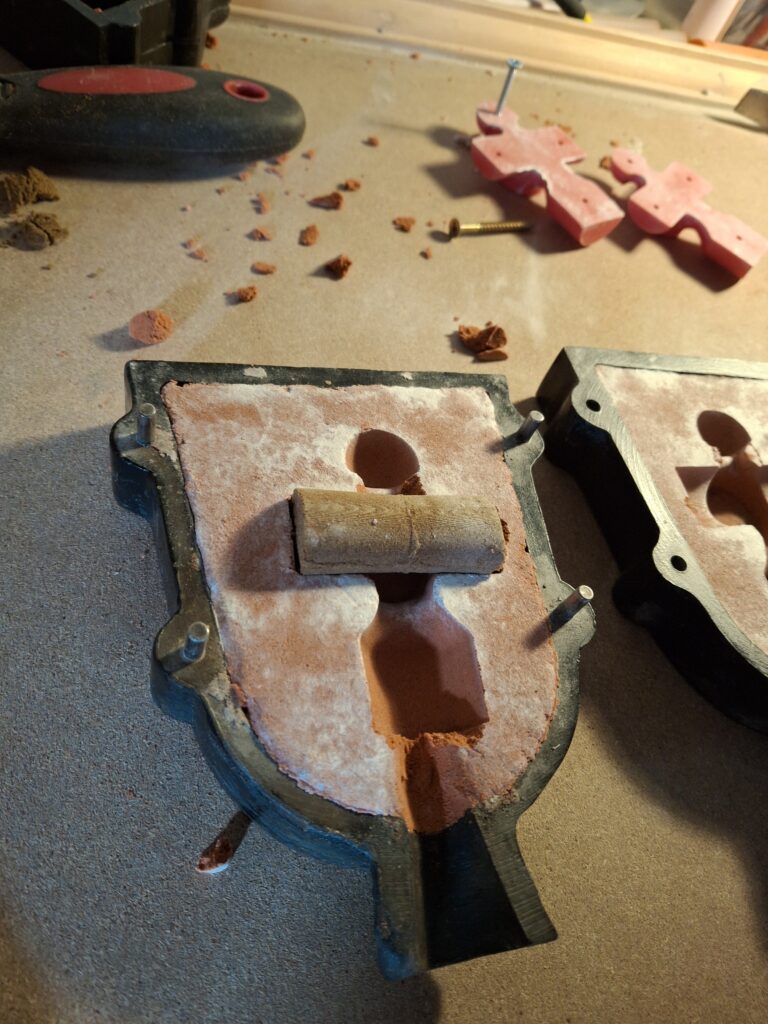
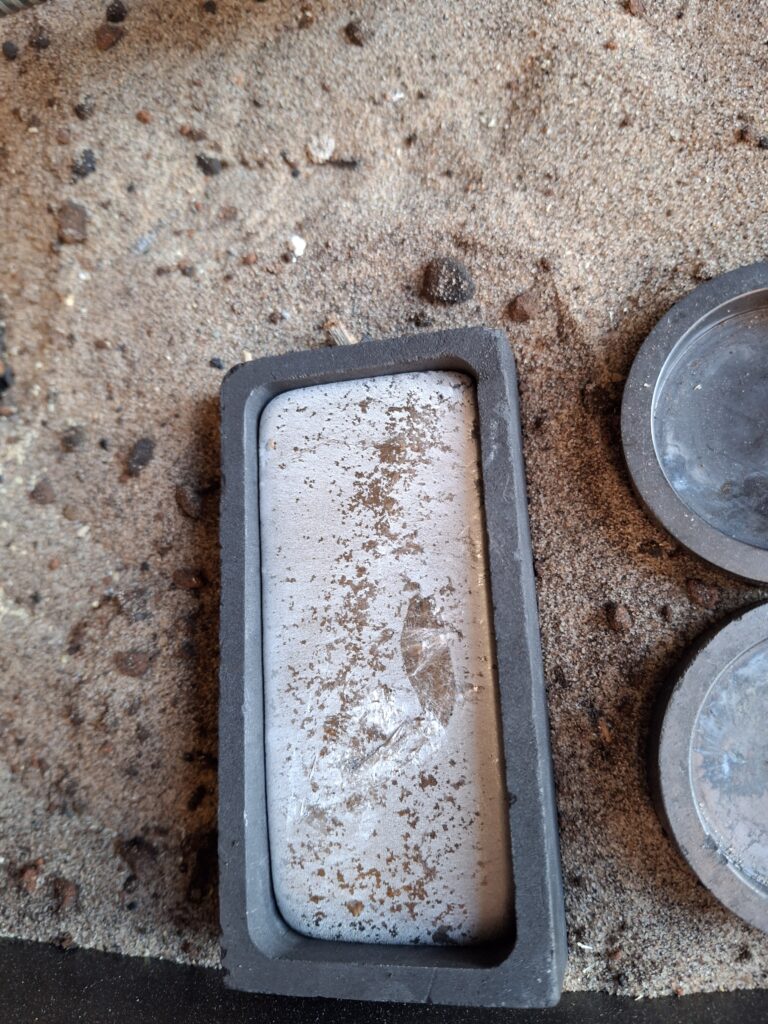
To allow us to have a hole in the final casting, we need a way to prevent the molten metal from filling that cavity. I mentioned the core former earlier, this allows us to add an extra bit of sand. A common way to do cores is use some sodium silicate and CO2 to make a solid sand molding, but i choose to use Delft Clay. This is an alternative to oil sand and is used by jewlers. It makes much stronger sand molds, but its not as nice to work around complex patterns.
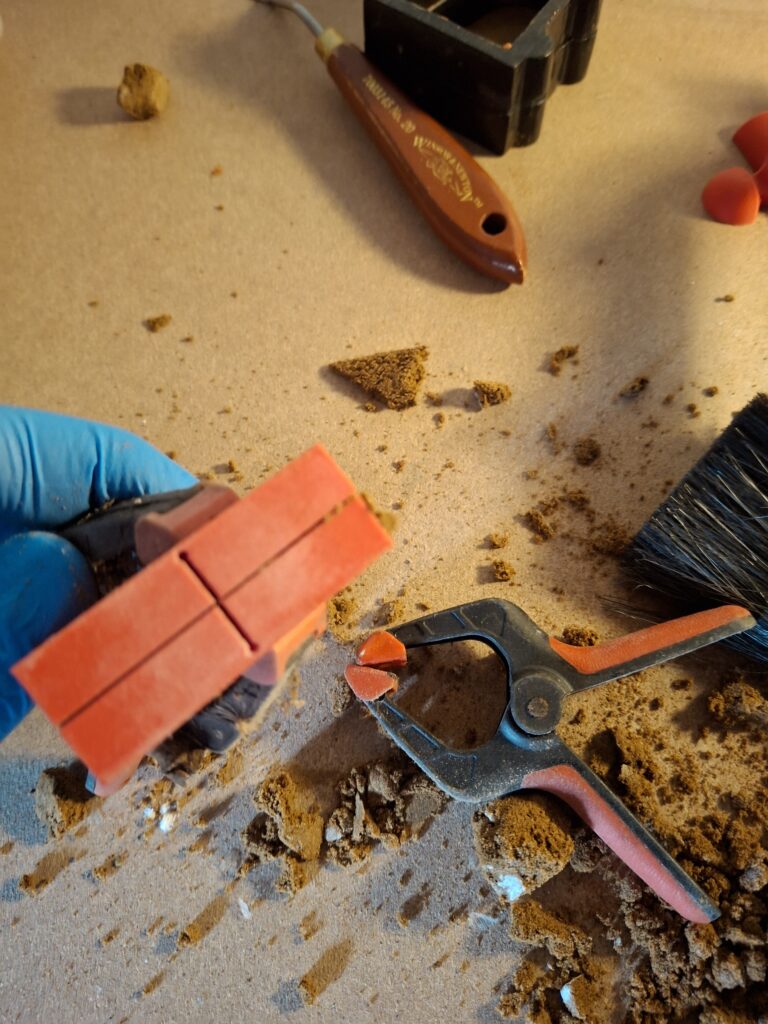
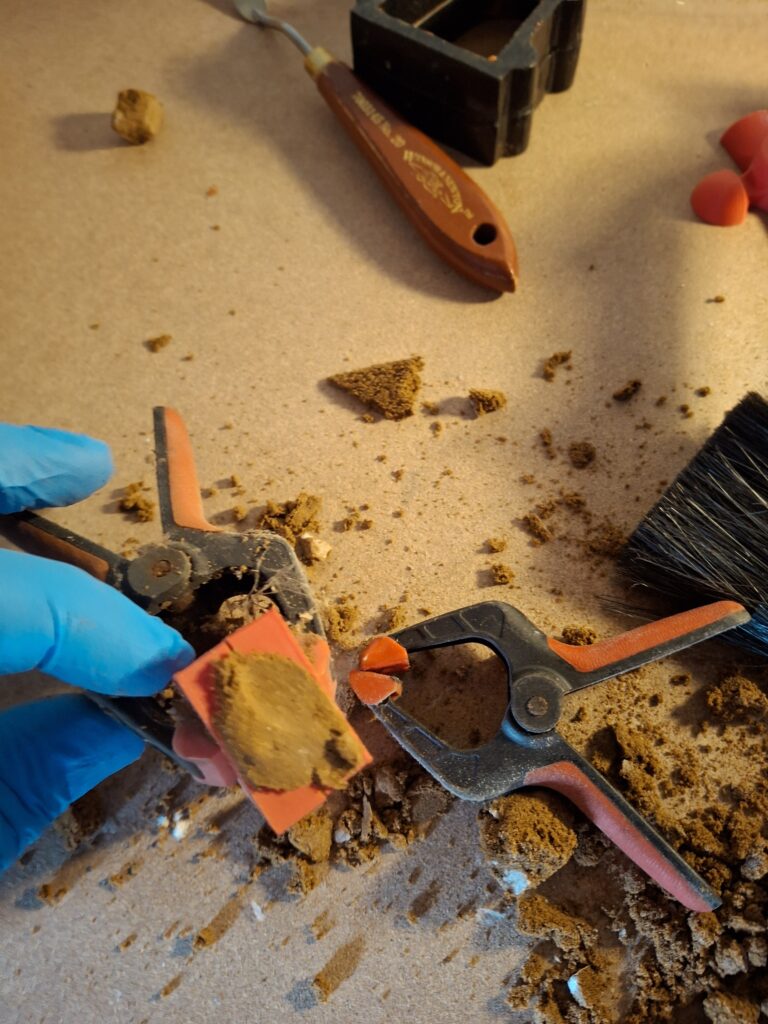
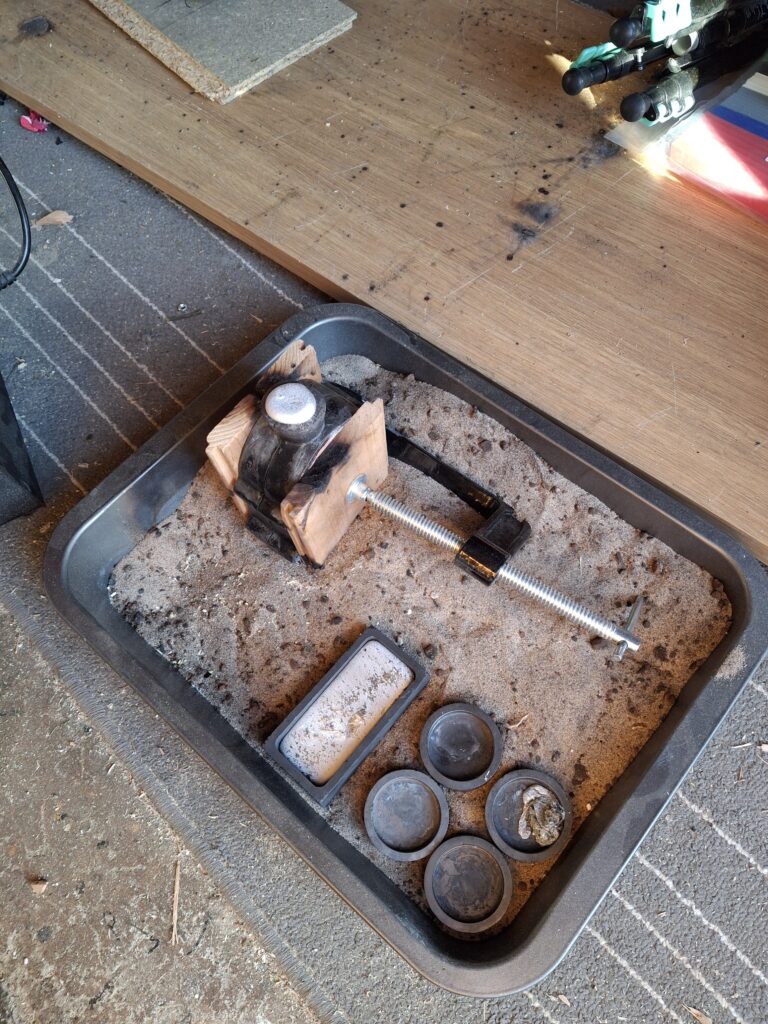
Like the rest of the pattern, this comes in 2 parts and needs a good coating of Talc and to ensure i can really ram the sand in, clamps are used to hold the form together.

Mold Assembly
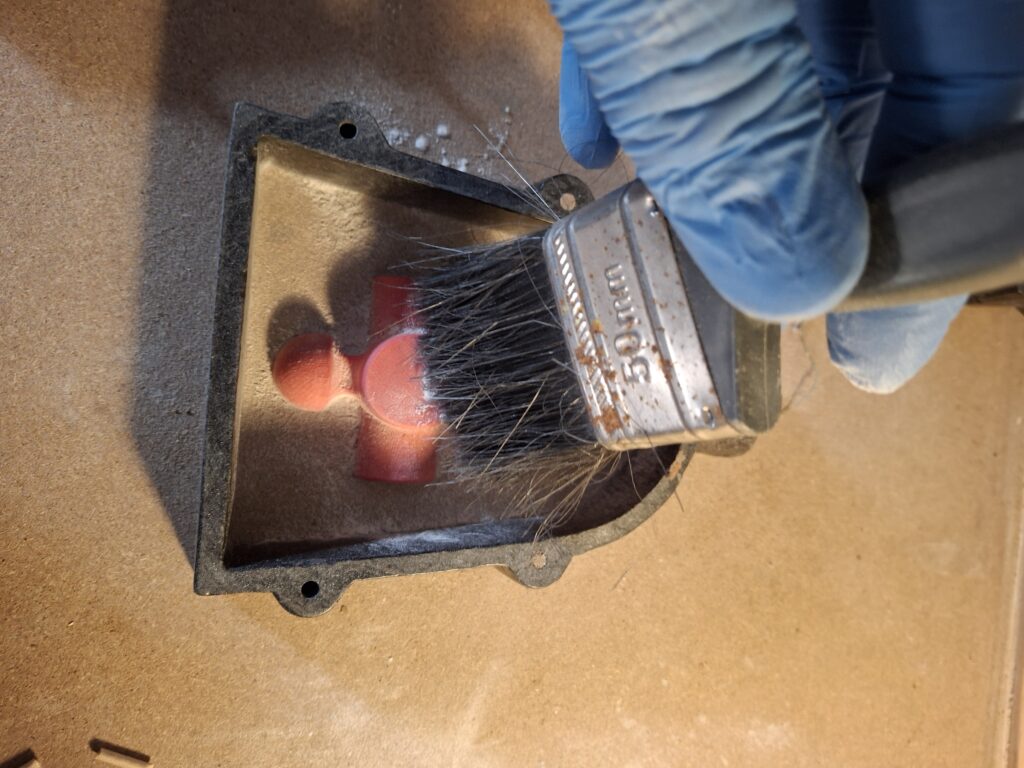
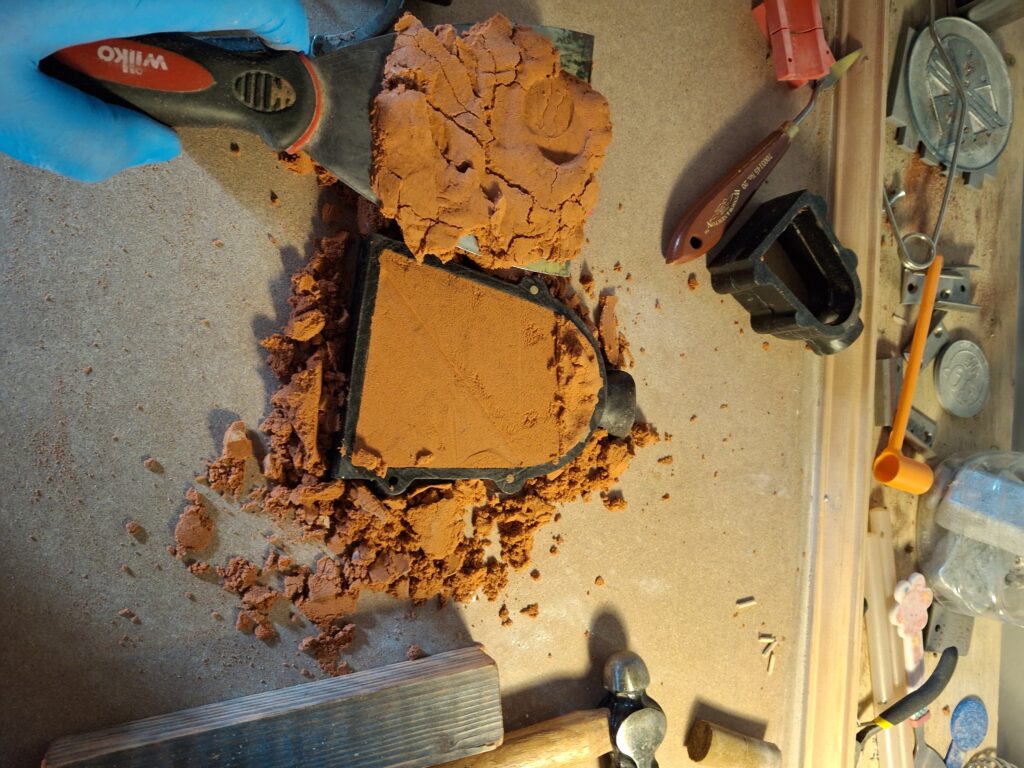
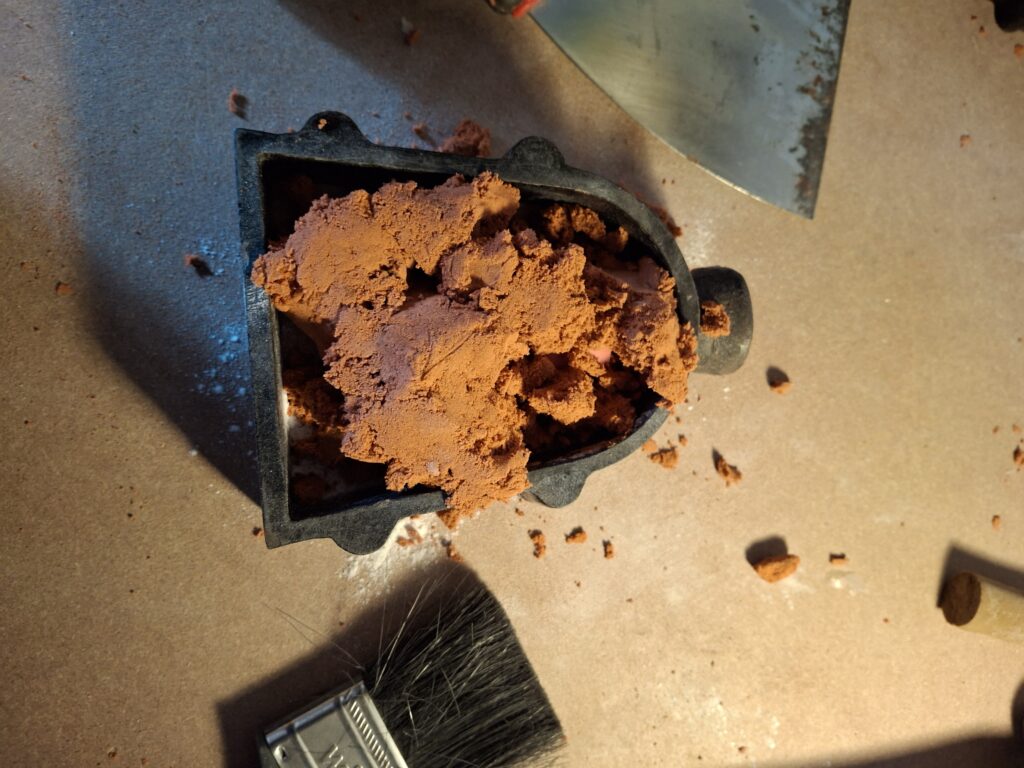
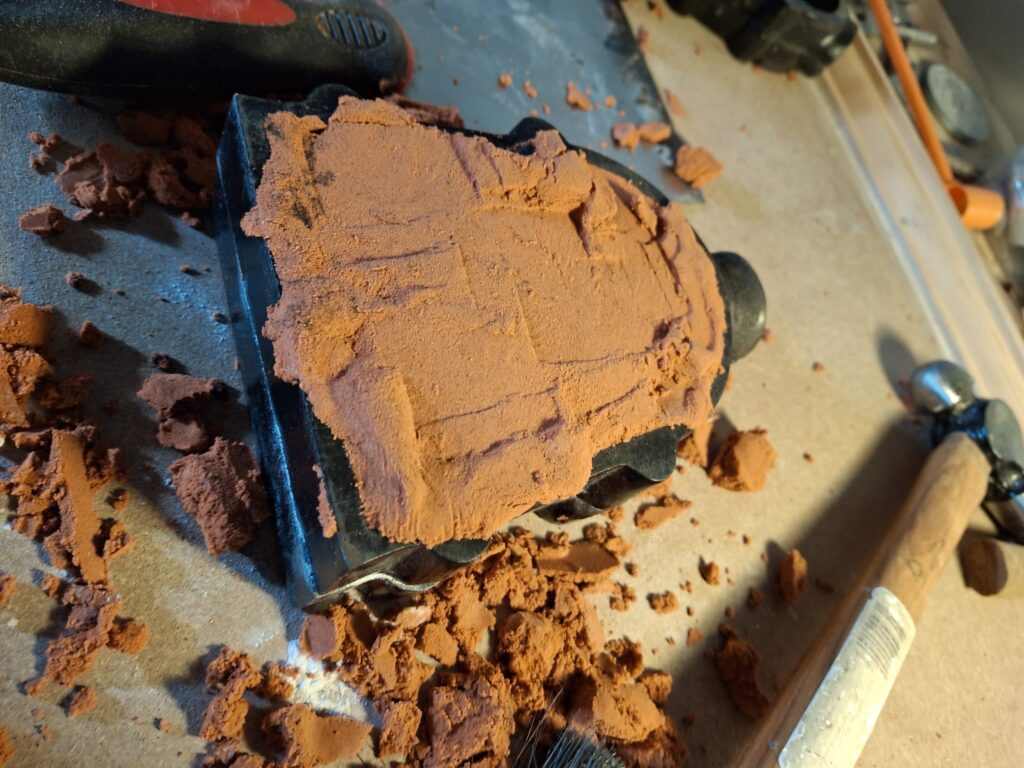
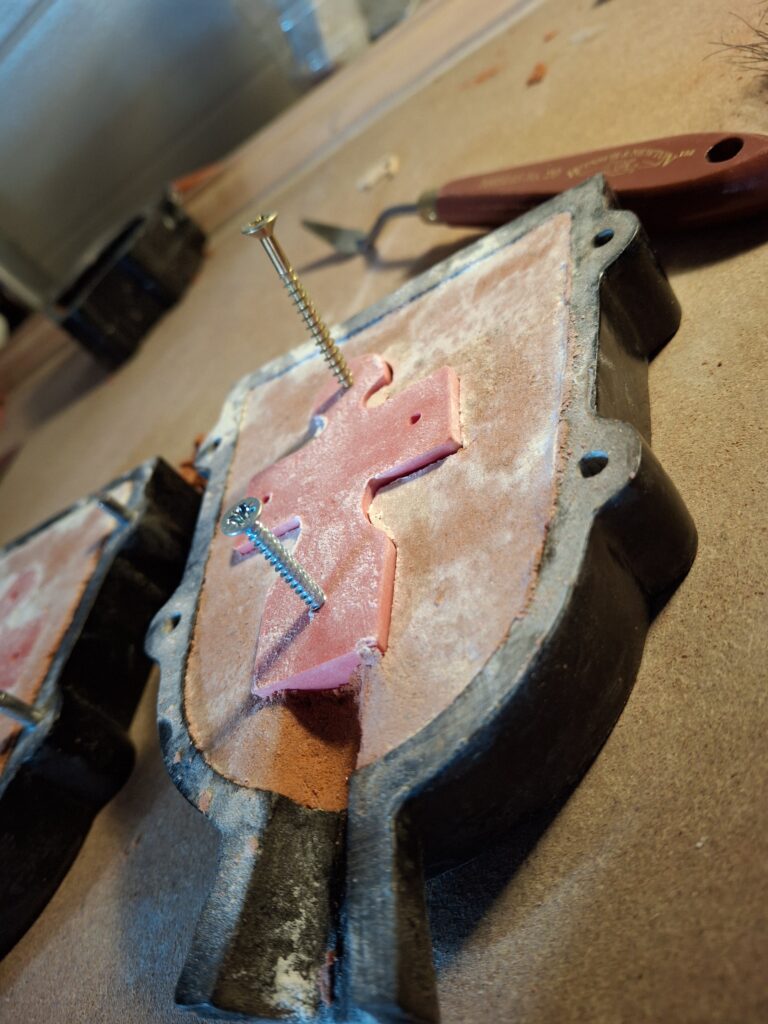
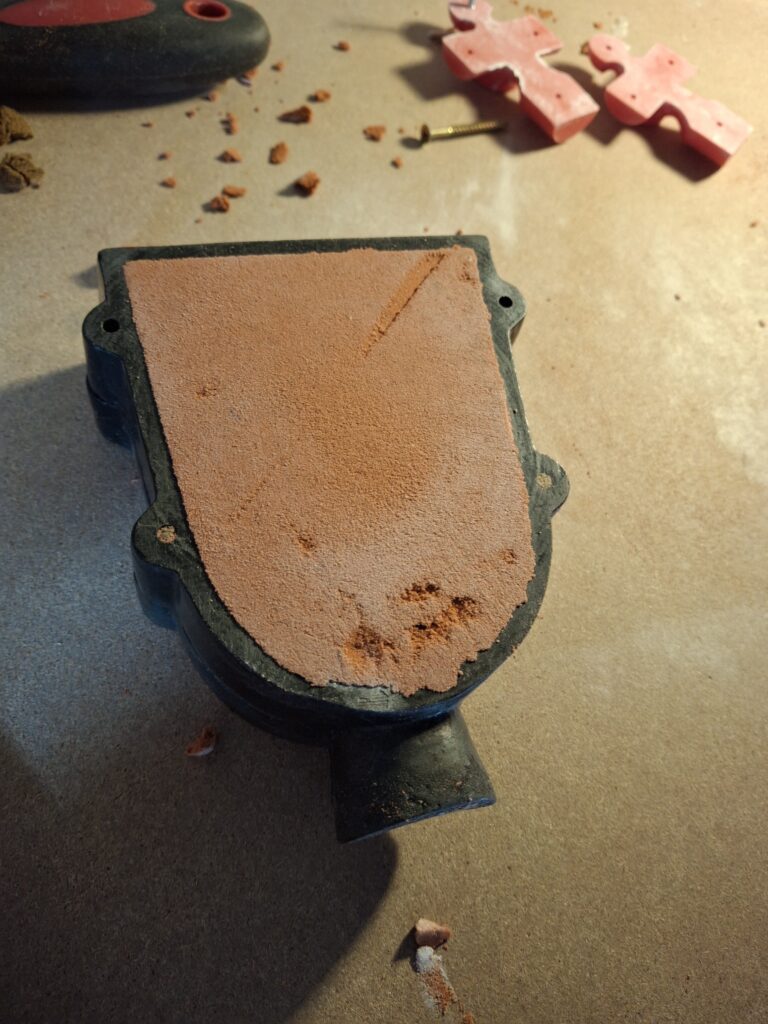
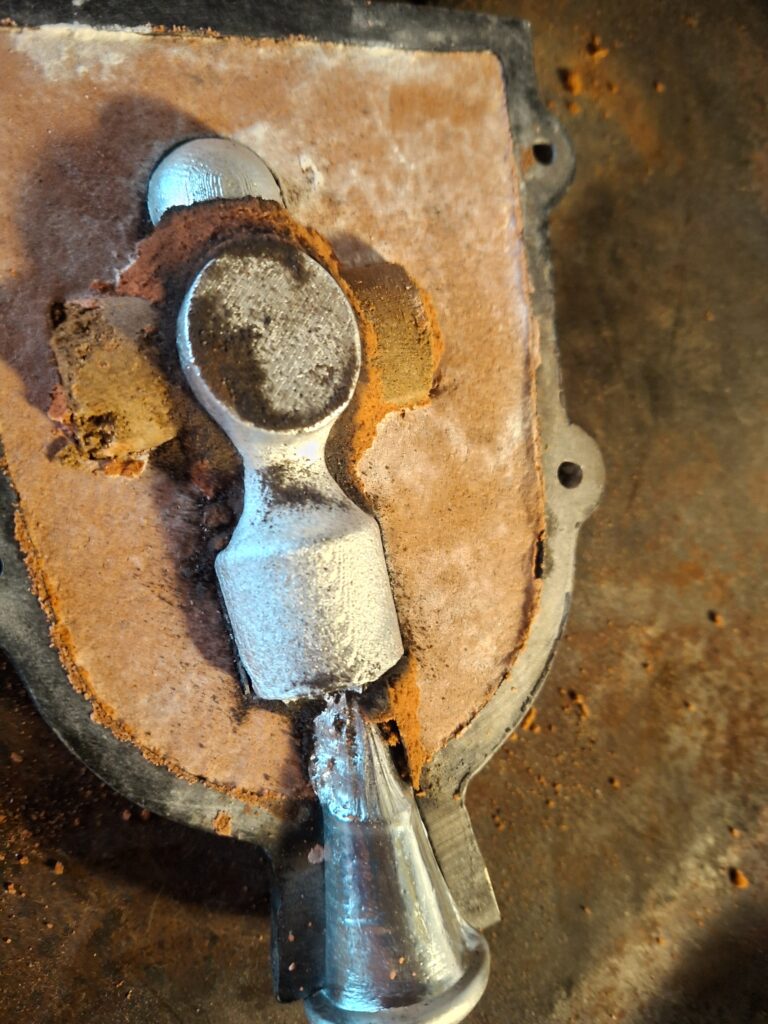
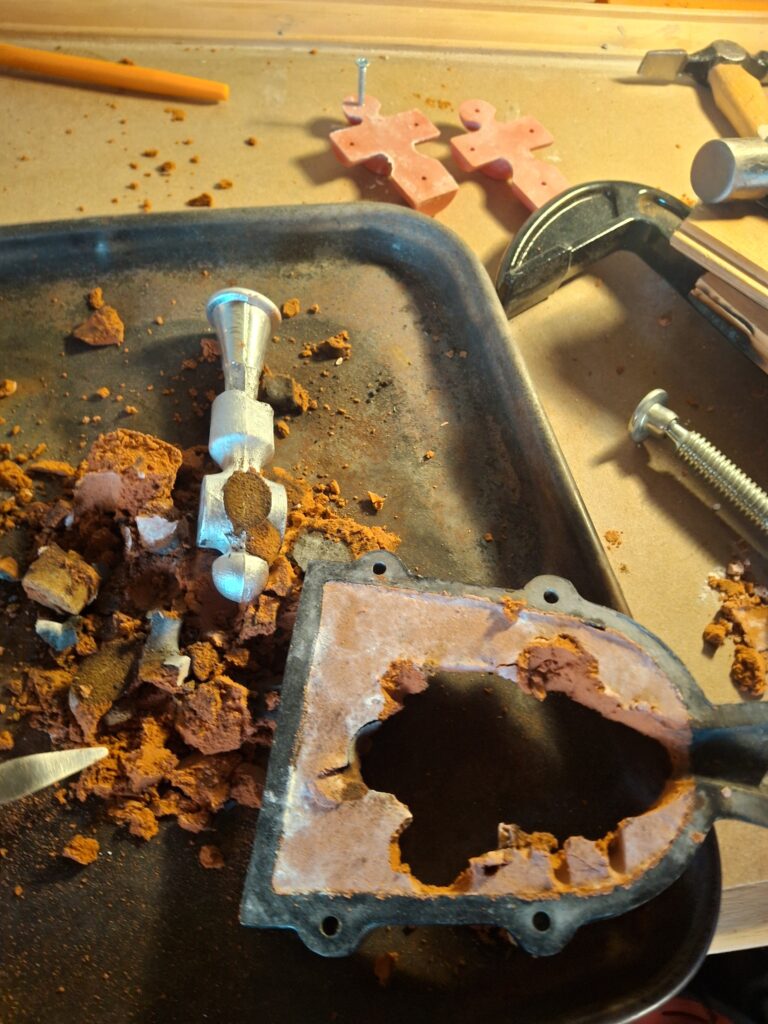
Now we have our core ready, its just a case of very carefully removing the pattern from the flasks and adding the core. When the flask is separated, care needs to be taken to ensure its just lifted and no turning or twisting takes place. If all goes according to plan, you should have the sand come away with 2 smooth and flat faces, with either side of the form in place. Tapping the patterns and using screws is a great way to remove them.
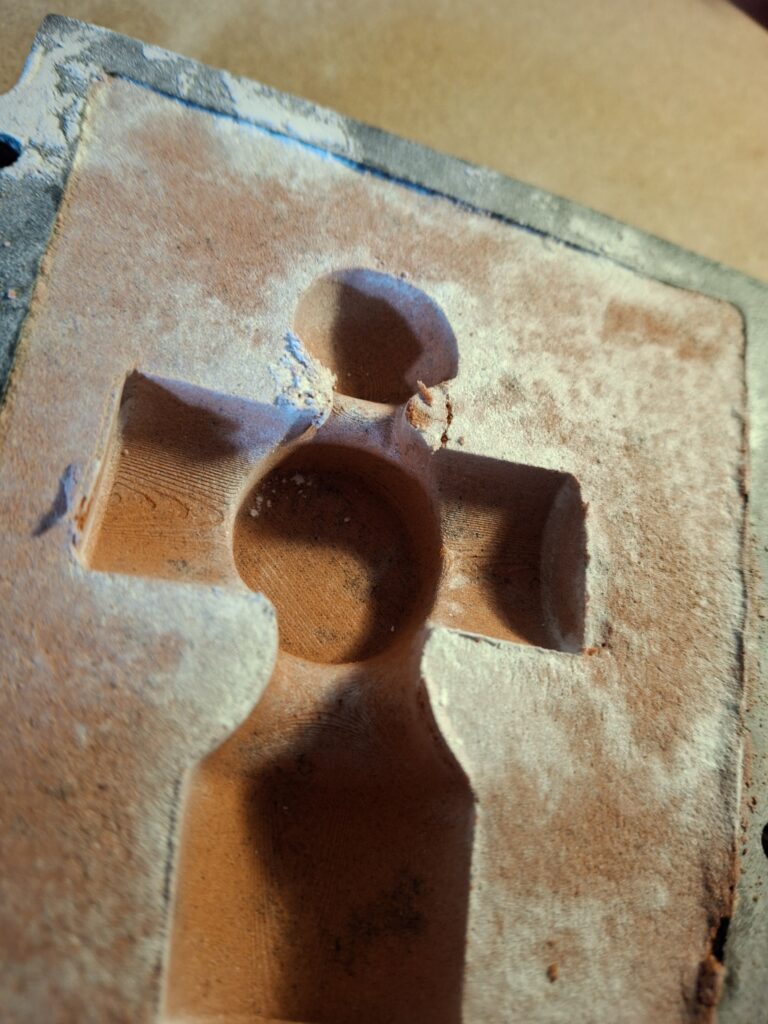
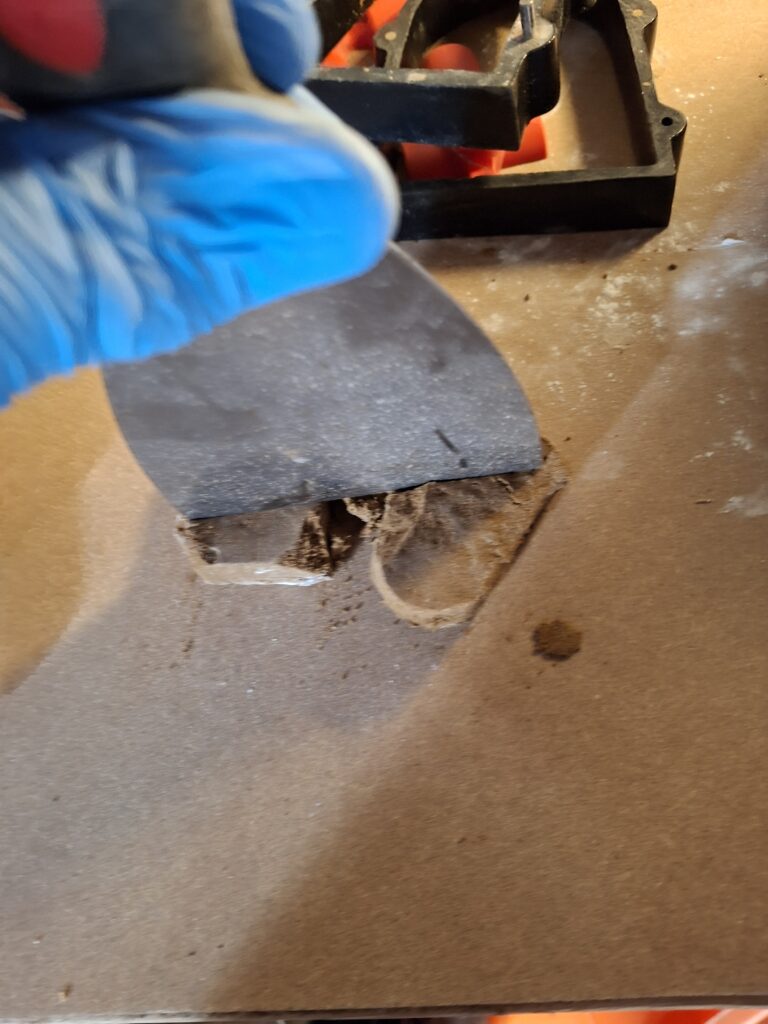
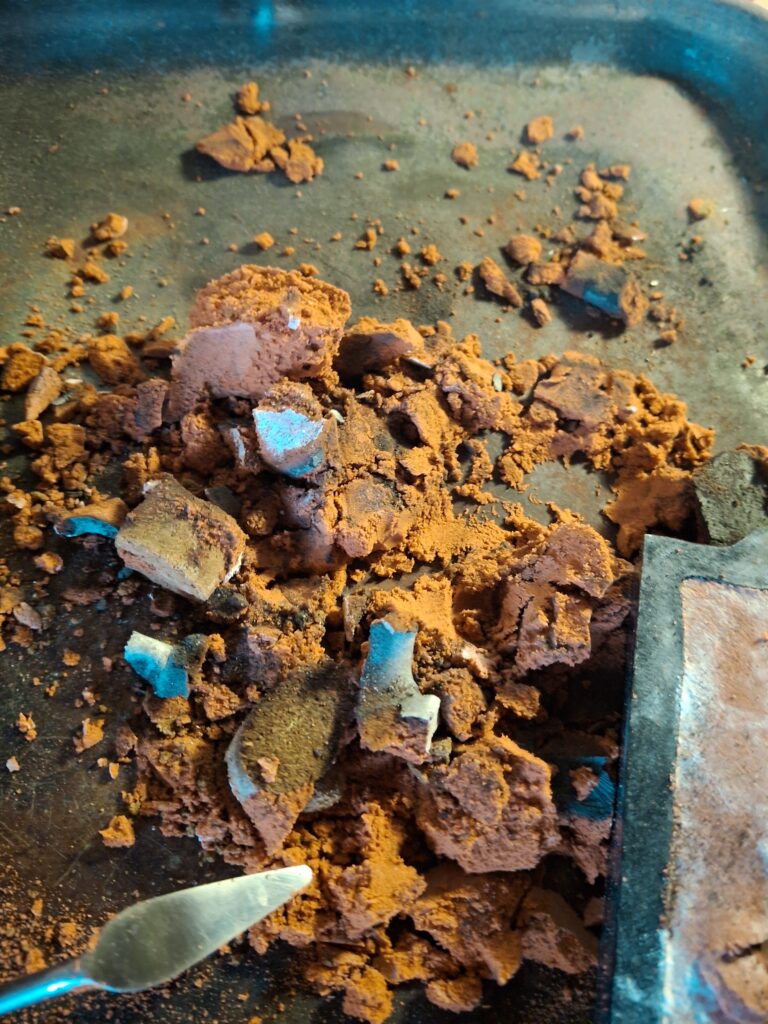
Sadly a little damage to the form when removing, i think the part needs a little filing, but its not too bad really
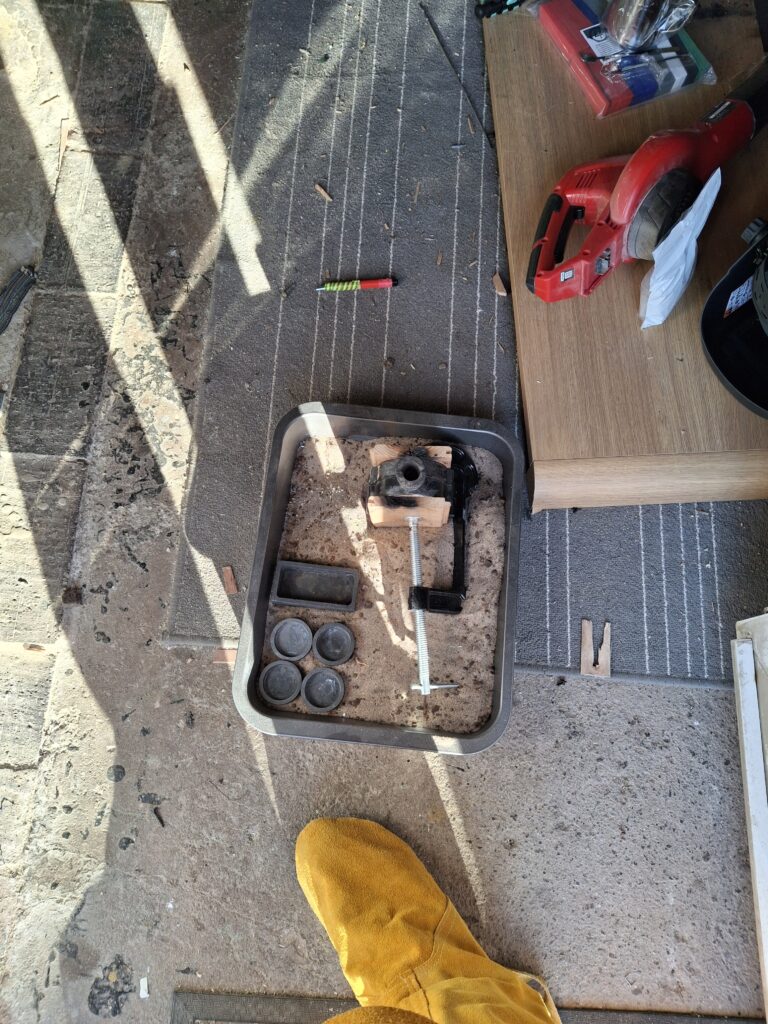
Once the pattern has been given a air blasting to remove any loose sand (sadly including the broken parts), the core is added and we do a dry closing. Here we close the mold back up and then take apart one last time, this ensure any loose sand can come loose.
The metal used was the ZL12 Alloy and i melted this in my small, electric furnace.
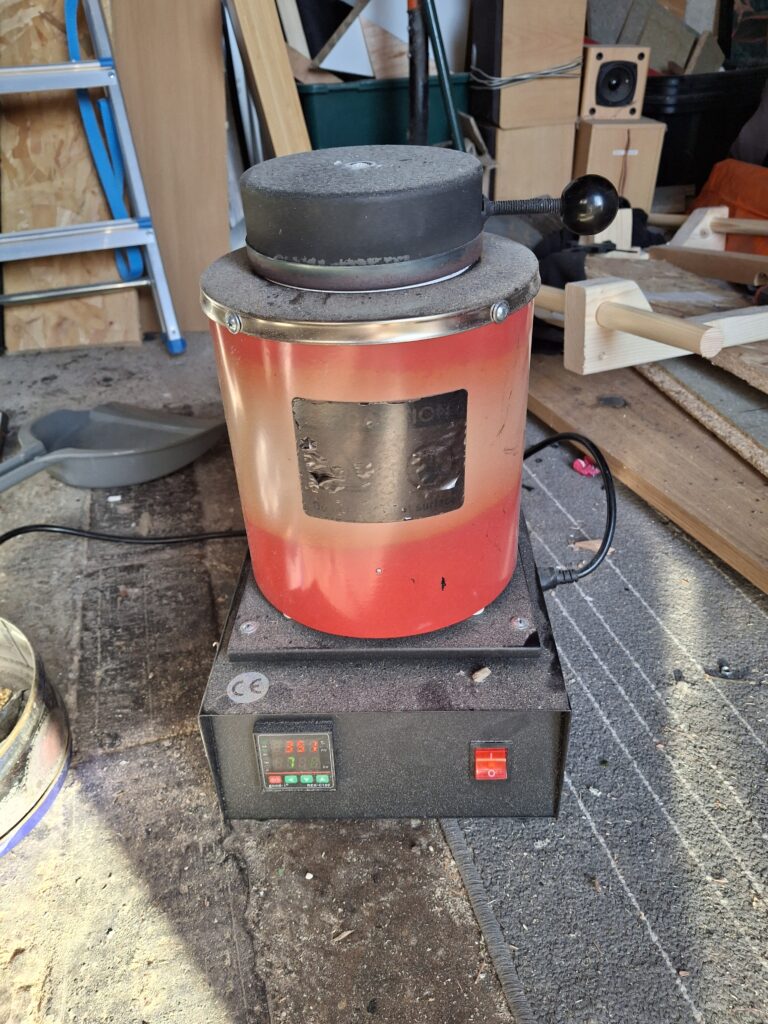
The drawback to these little, cheap furnaces is the speed at which they heat up and the lower temps you can get, however its fine for aluminium and other low temp metals.
These small crucibles are really nice to work with, light weight and very easy to get a clean pour. Im sure those with years of experience make 15kg bronze pours look smooth, but thats not me!
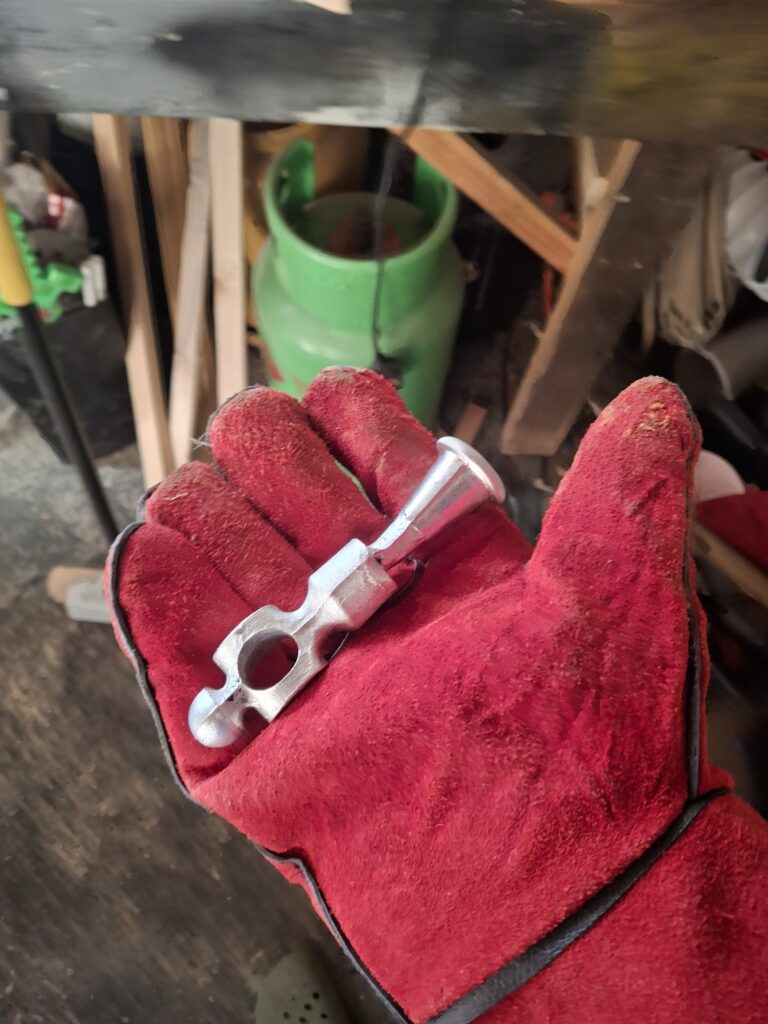
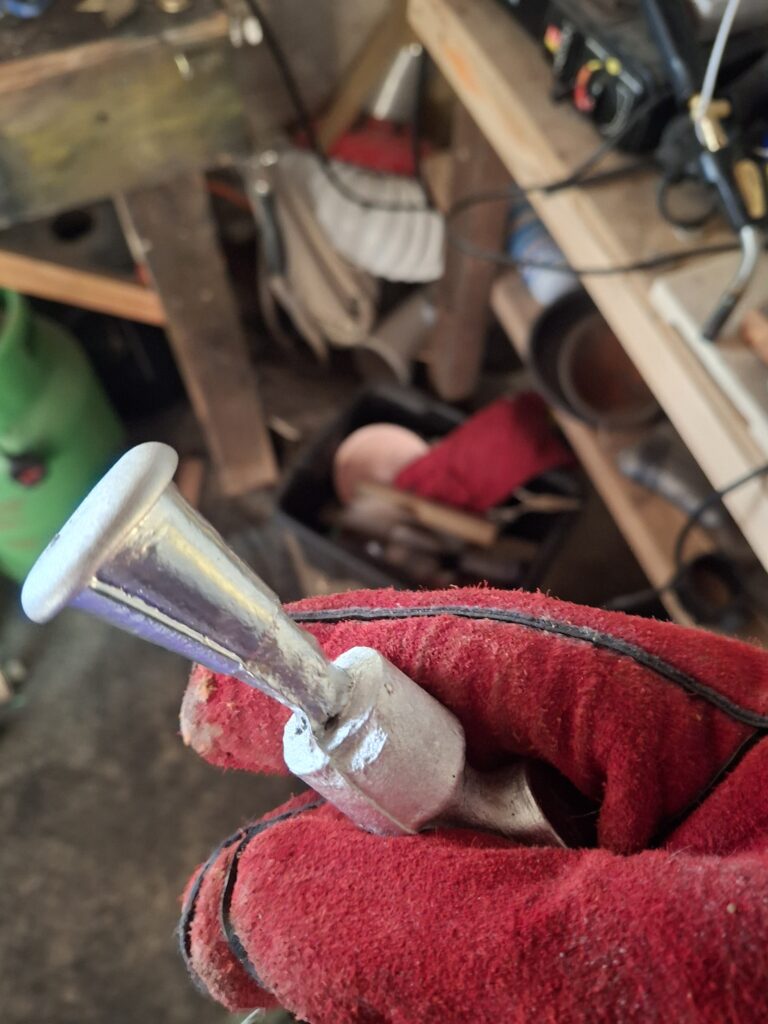
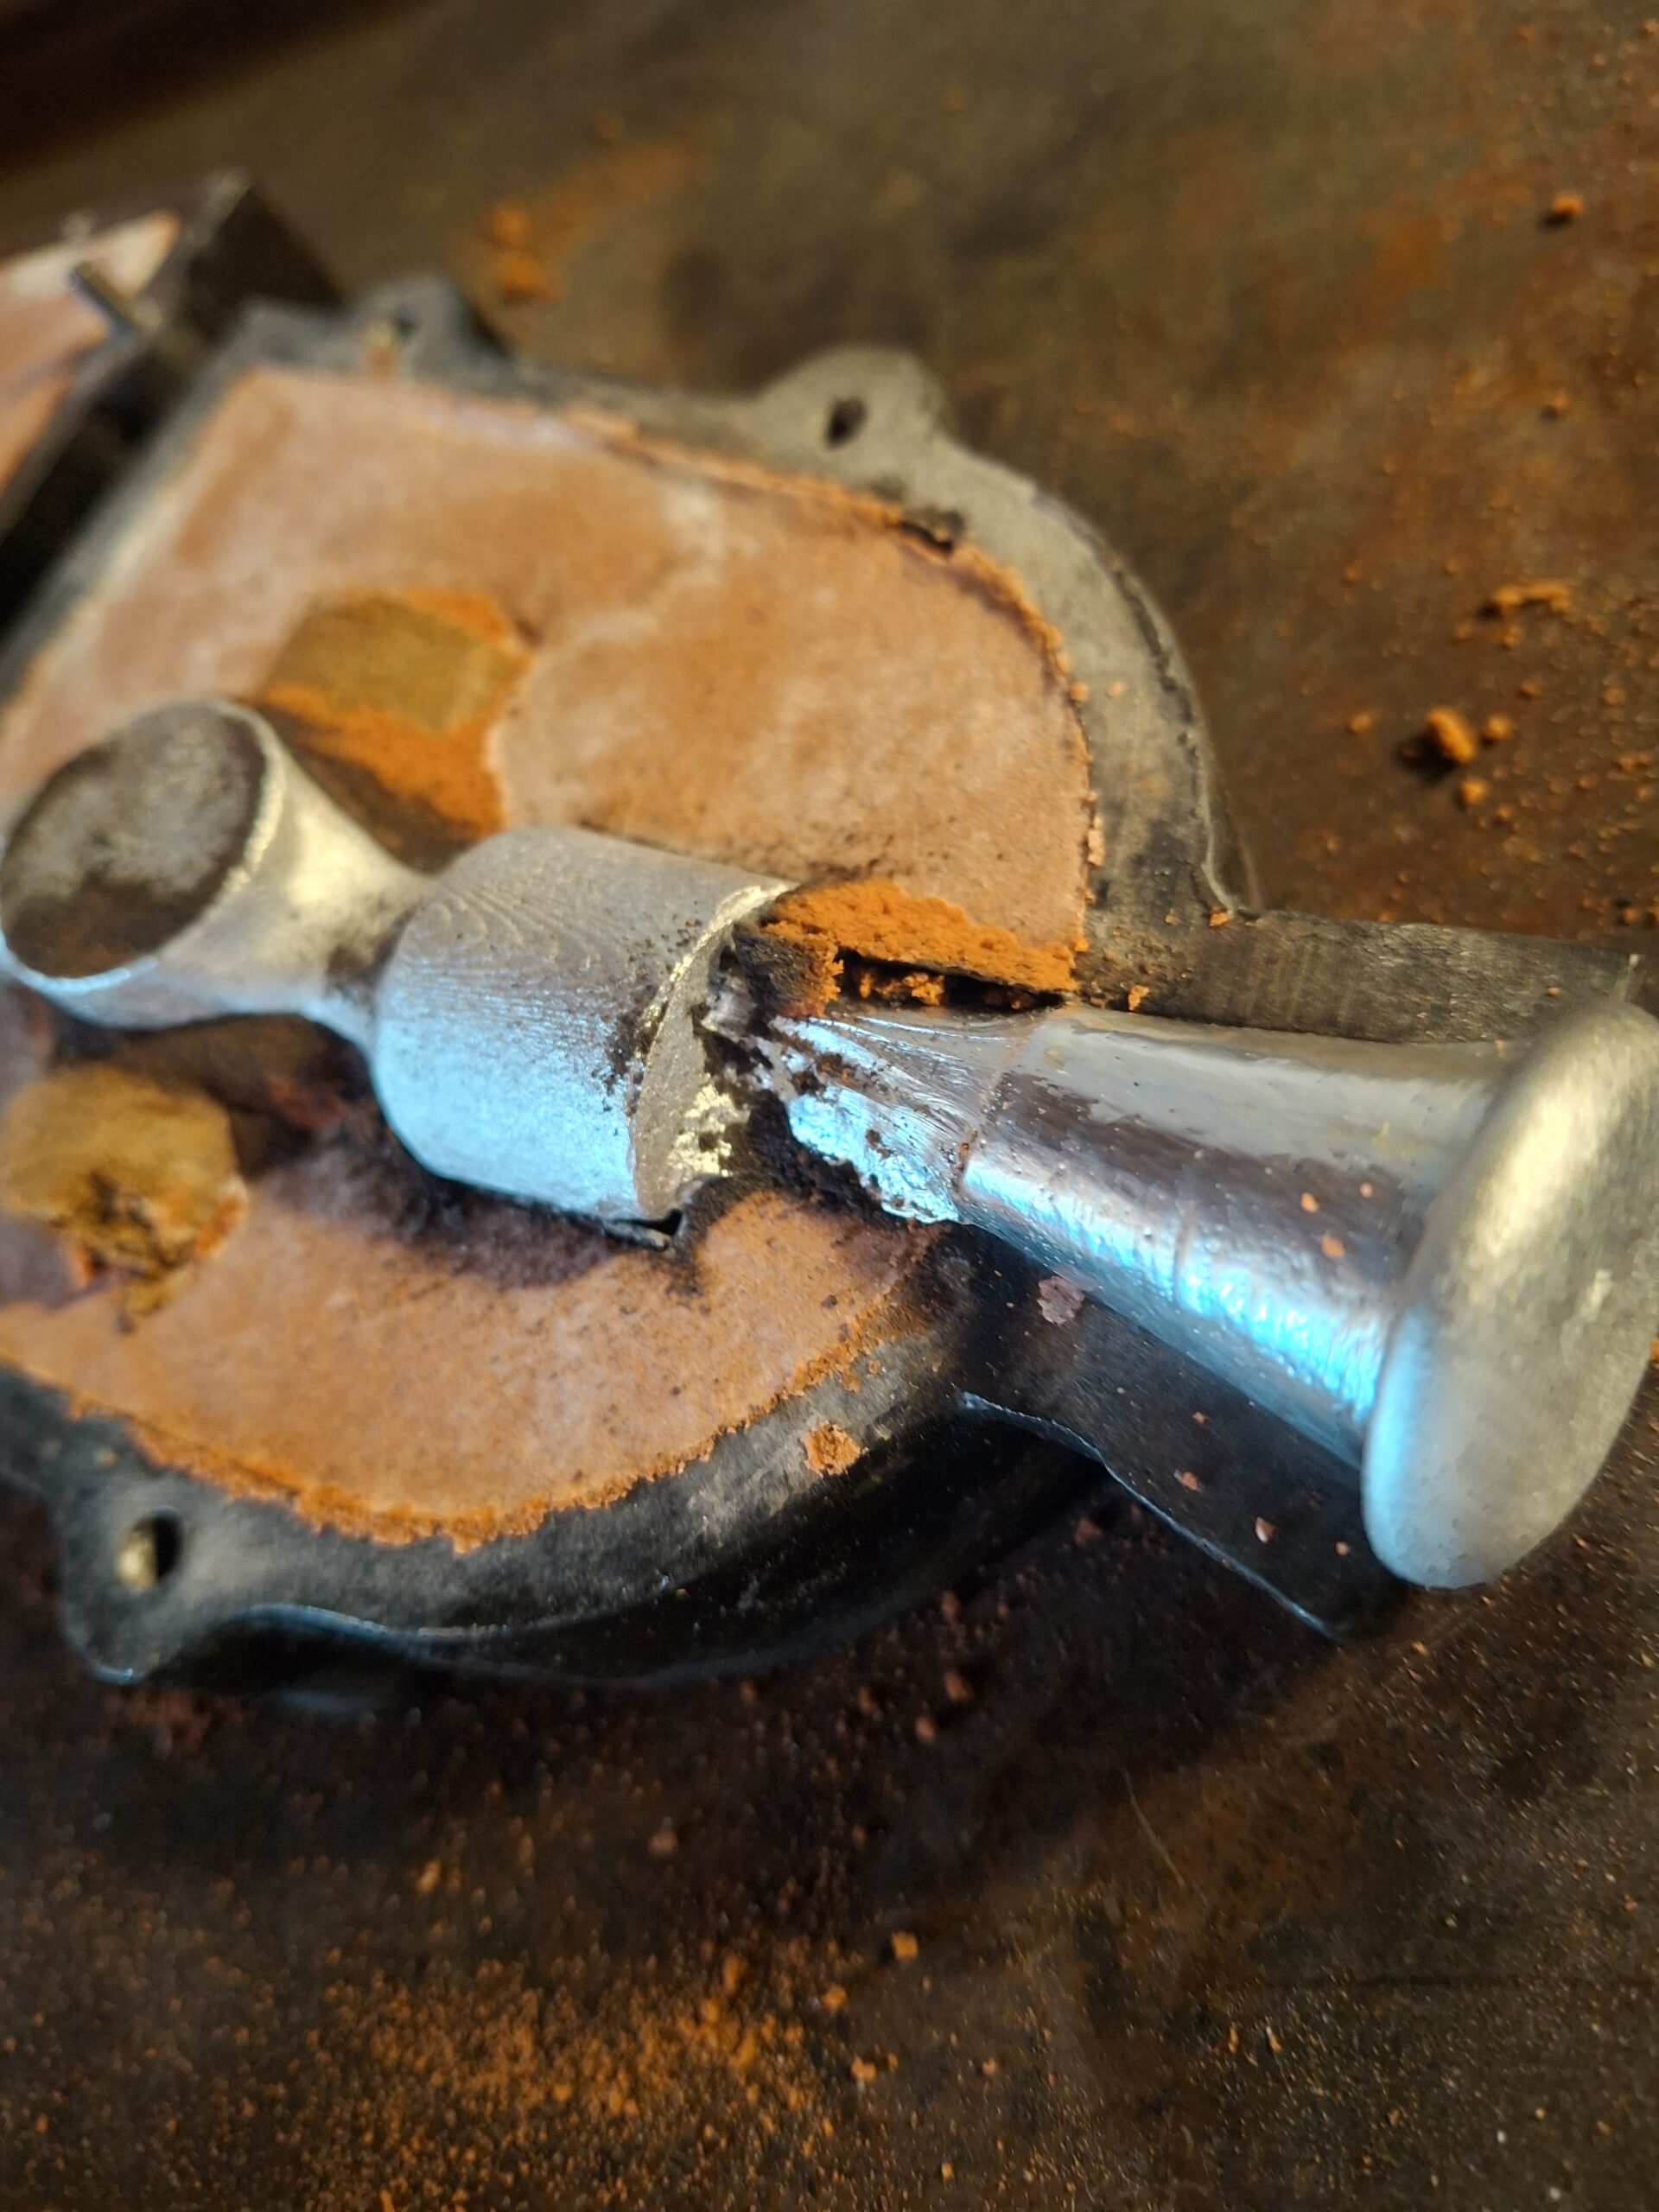
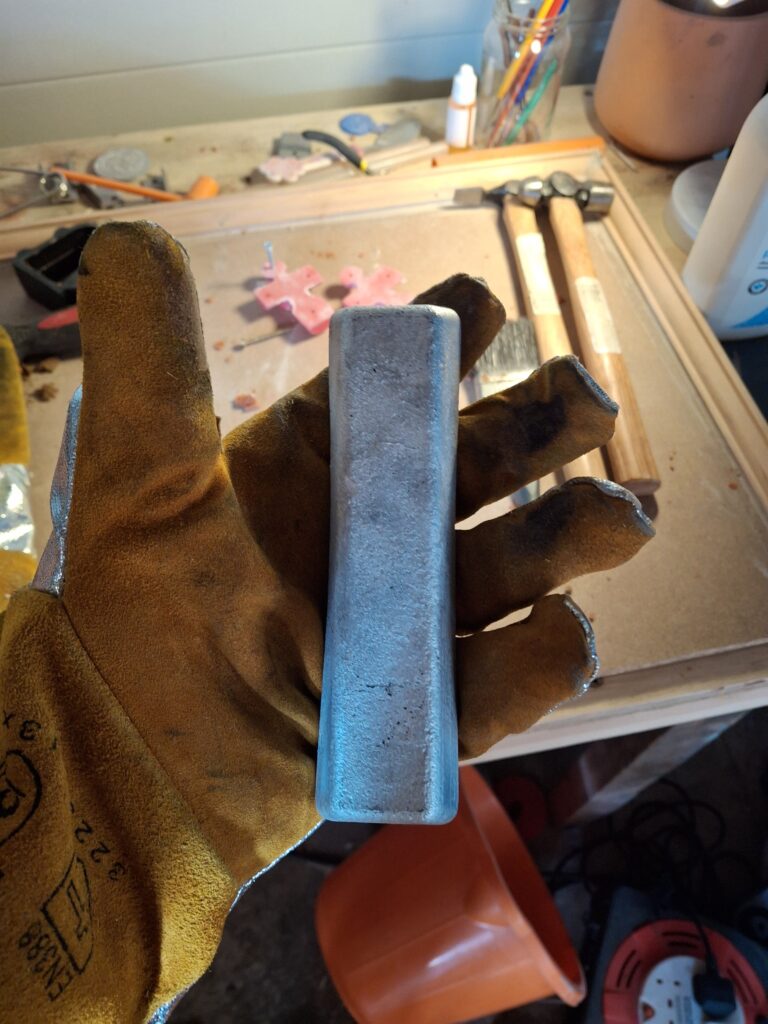
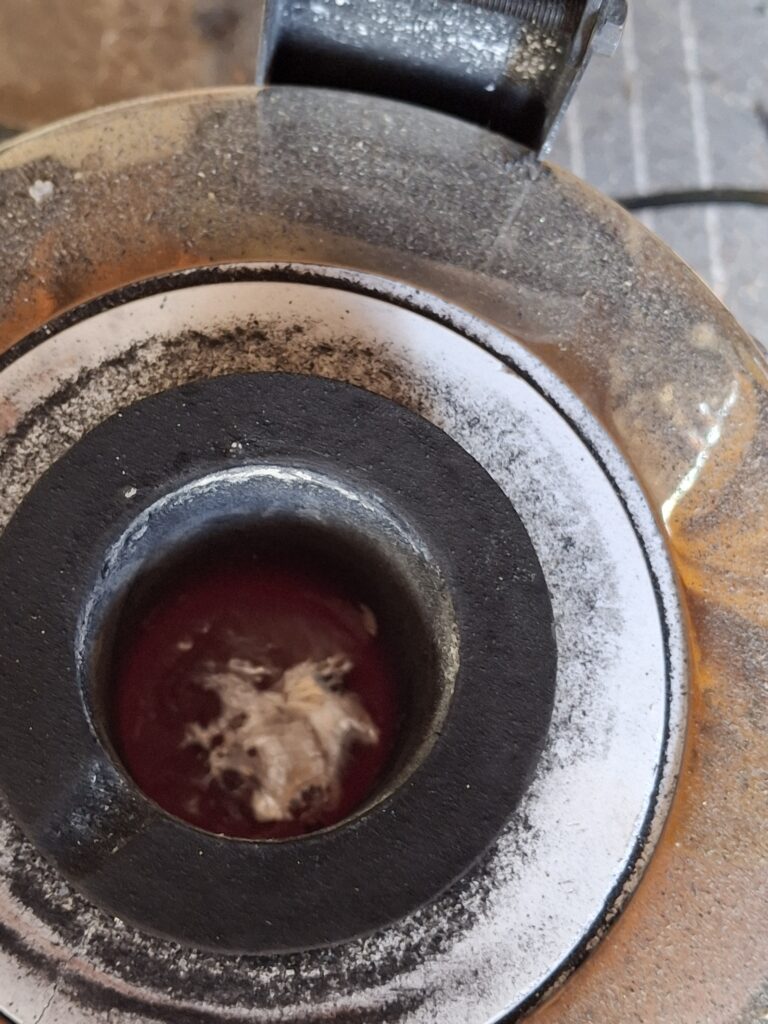
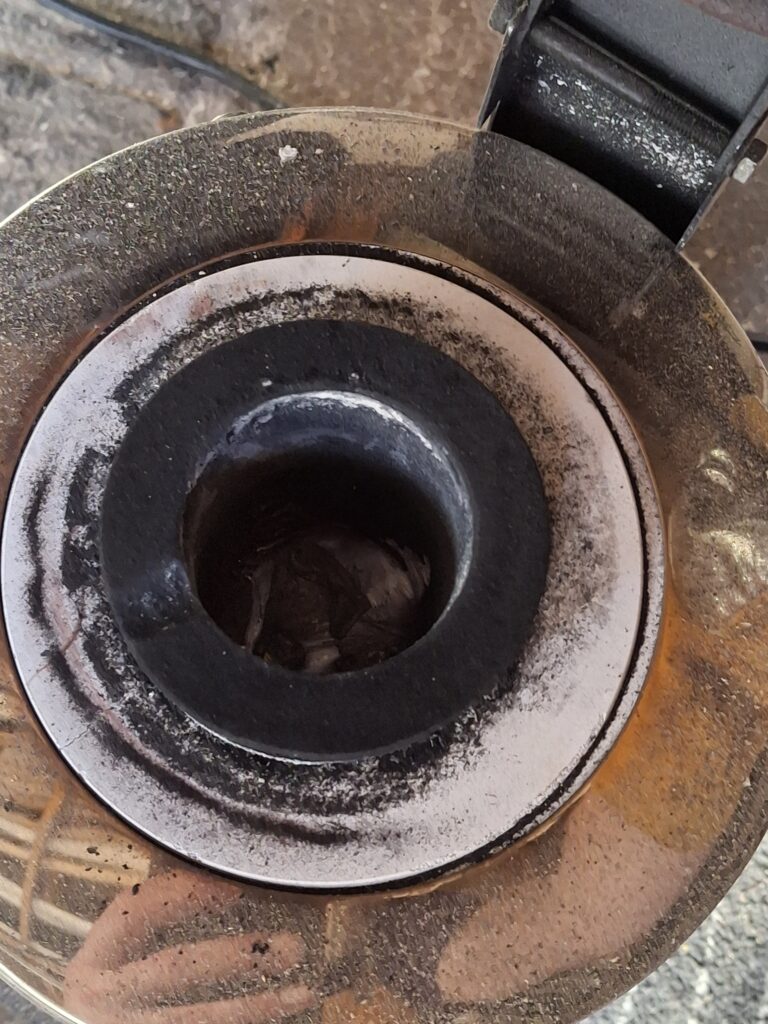
It went well, most of the metal flowed and was not much sign of shrinkage on the riser/spout….the alloy is supposed to be really good at reducing this, but not always a good sign (you want shrinkage here, not on the peice)

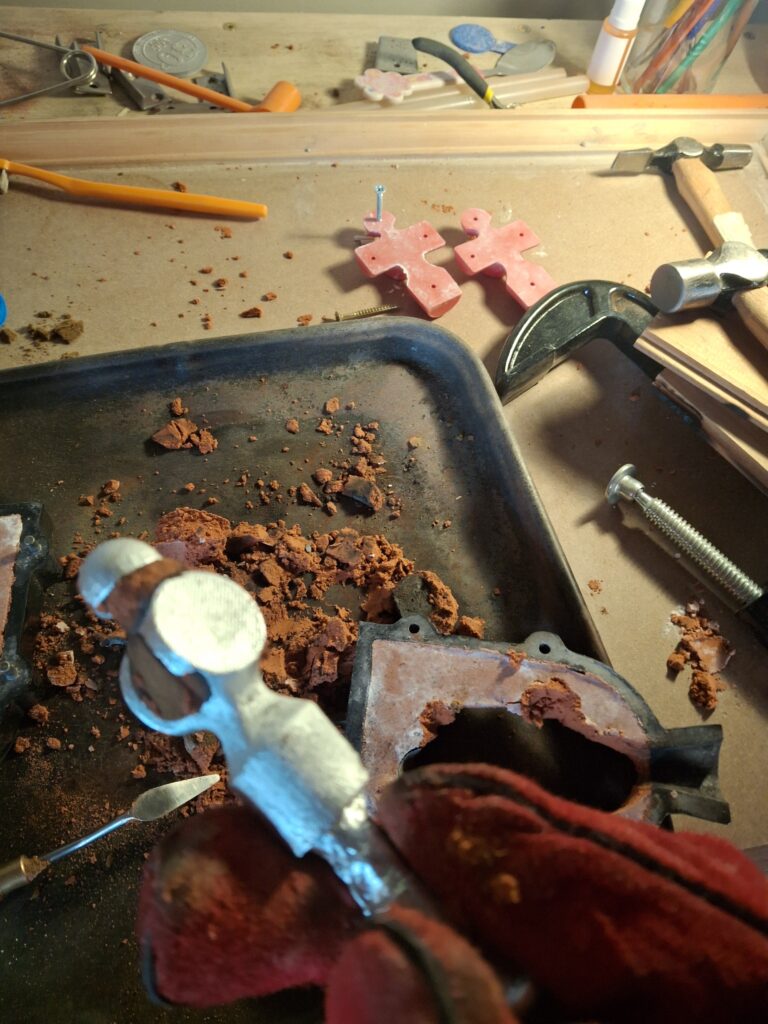
It came out ok, there was some shrinkage as i was worried about, im not sure of the riser being in contact with the metal, saw this cool slower than that in the sand, so it cooled there faster, i dunno but not bad